​Six Simple Strategies for Maximizing Solar on a Small Budget

Are you excited about solar, but scared of the price tag? You don’t have to be. We’ve been living, traveling, exploring, and thriving for the past 8 years with just 100 watts of portable solar. Let me repeat that…100 watts of solar for the past 8 years! Many people think that they have to invest a huge amount in a large system, but we started small, kept it small and found it to be enough. Here are 6 strategies for how we do it…

#1 Pay Attention to the Sun’s Angle

We’re always thinking about the panel and it’s angle to the sun. Before we go to bed at night we’ll shift it to face the rising sun in the morning. Especially during the summer, the sun rises earlier than we do, so taking advantage of that early light can make a difference. Likewise throughout the day, we’ll pay attention to where the panel is in relation to the sun’s path across the sky. If we leave for a hike, we’ll place the panel in the optimal spot for the middle of the day, which is the best light to charge. A few simple adjustments can make a big difference in the charge on your battery.

#2 Use 12 Volt Appliances When Possible

Simply put, if you can use the DC power coming directly from your battery without having to change it into AC power via an inverter, you will maximize your energy savings. We use 12V lights, 12V Fantastic Vent/Fan, and a USB charging station for all our small electronics.

#3 Make Use of Excess Power

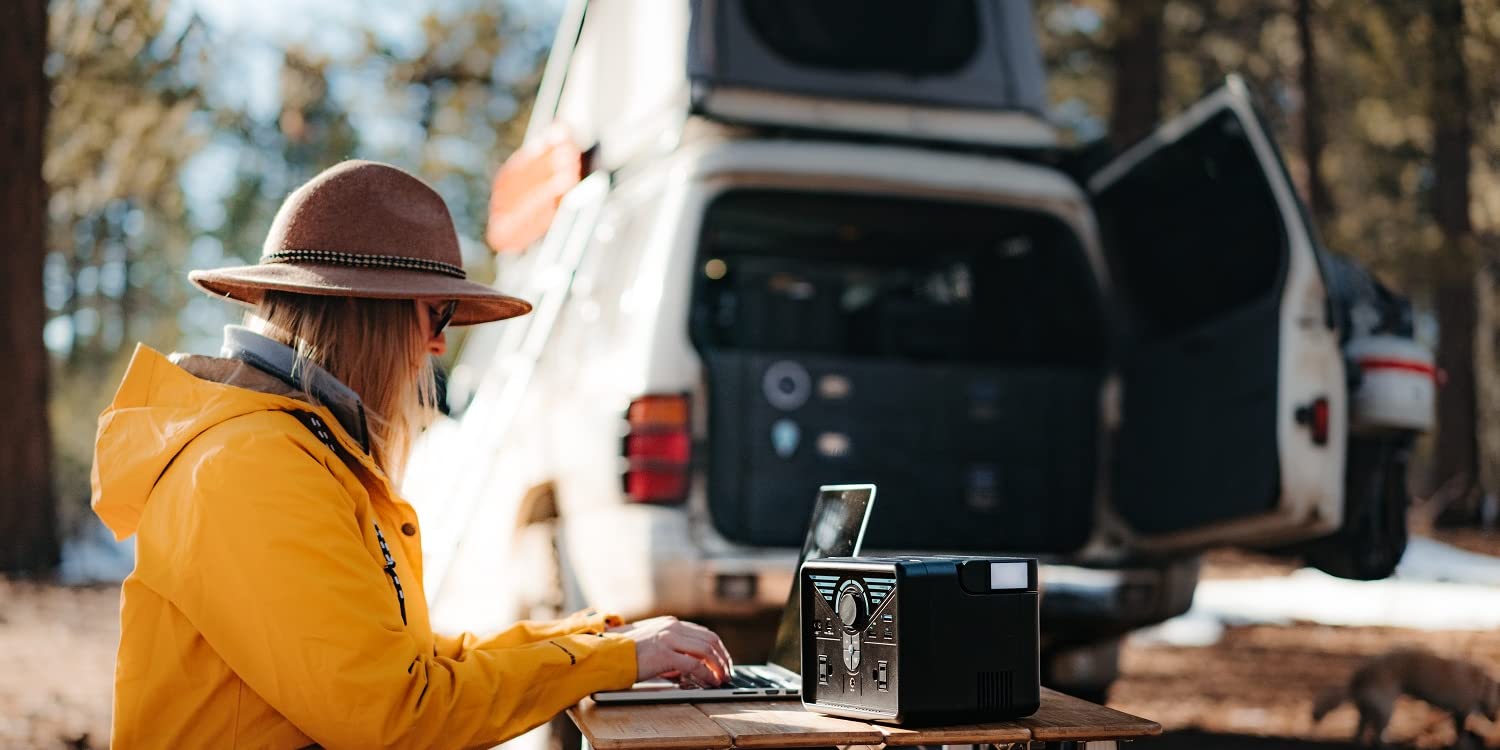
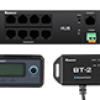
Once the battery is full, any additional power collected by the panel will go to waste. Before we head out for a day of fun, we check our battery’s status via our BT-1 Module. If the battery is full or close to full, and the panel will be illuminated for much of the time we will be gone, we use the excess power coming in to charge some of our devices (i.e., laptops, portable speaker, camera batteries, AA/AAA batteries, phone, etc.) When we return, both our house battery and devices are full and ready to use. This time during the day could also be used to run an Instapot, or other high wattage appliances.

#4 Use an Extension Cord to Maximize Solar

We try to park our camper in the shade and run an extension cord to our portable panel in the sun. Doing this allows us to keep the camper cool without needing to run the fan all day, and still charge up our battery. Tip: Make sure your extension cord is no more than 20 feet long, or you will start to lose some efficiency via the resistance in the wire.


#5 Charge Batteries While Driving

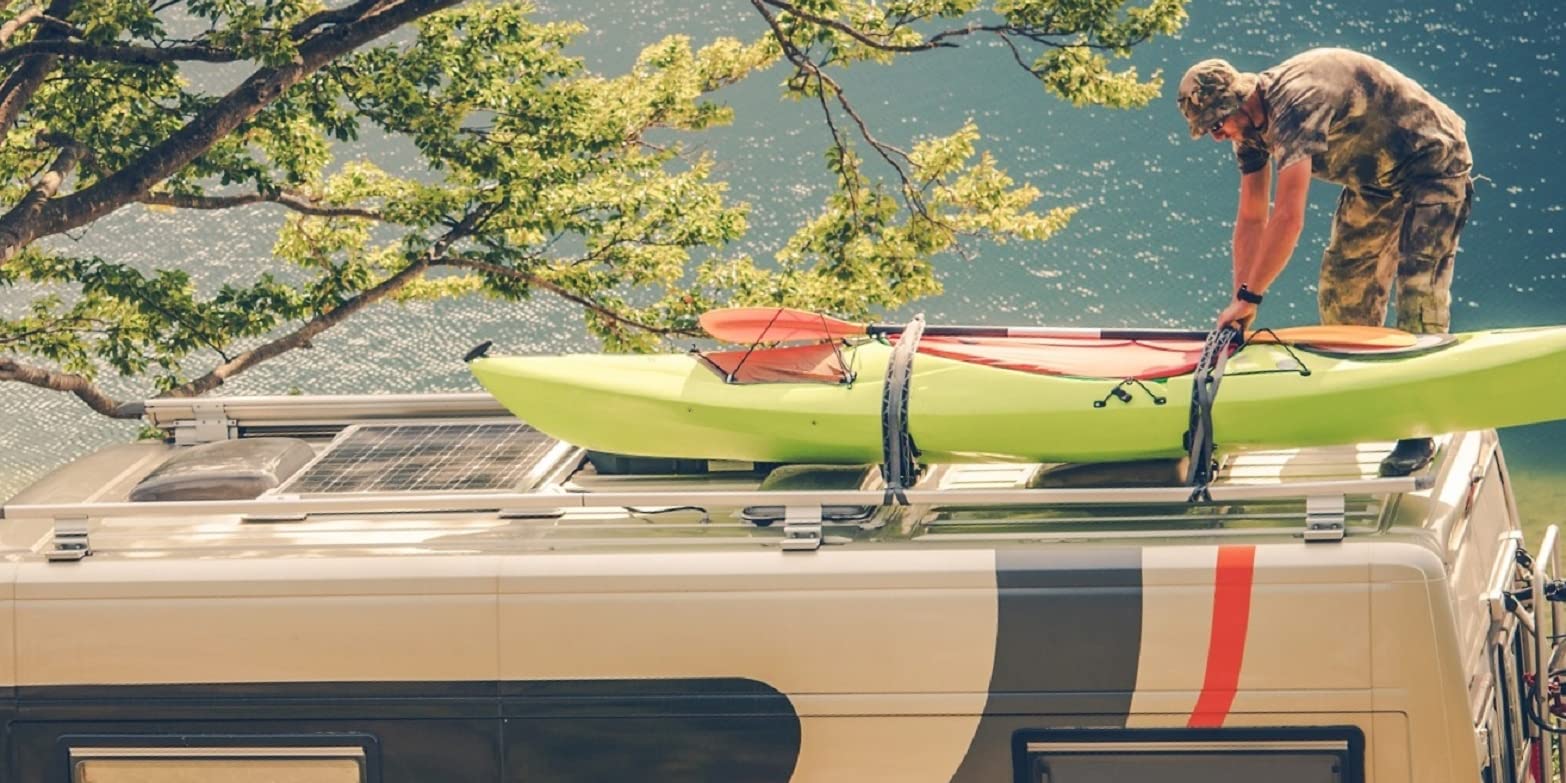
There are a couple of ways to do this. You can use a DC to DC Charge Controller that uses the 12v power created by the vehicle’s alternator to appropriately charge your house battery. Or, instead of storing your portable panel inside your camper during travel, store it in a rack on your vehicle so that the sun illuminates the panel while you are driving. We installed a custom-made, and securable rack on the back of our truck-bed cover. You’ll notice that our kayaks are directly above our panel, but they only block some of the sun from 11am-1pm, the rest of the time the sun is coming in at an angle, depending of course on the angle of our drive. We also park strategically when we stop for a meal or an errand so that the sun is illuminating the panel and charging up our battery.

#6 Limit Your Need for Electricity

In our traditional homes, electricity powers a lot of cooking appliances, but that’s not the only way to make great food. Sure, we could run a toaster, coffee pot, electric kettle, microwave, waffle iron, or electric skillet with solar. But, we choose not to in order to limit the need for extra panels and batteries…and where would we store all that stuff in our tiny space?

We use a flat griddle to make toast, our Banks Fry-Bake pan to reheat food, saute, and bake, a stove top kettle, a French press to make coffee, and an Amish waffle iron. You see, we are serious foodies who never scrimp on making great meals. We use our vintage 2-burner stove inside Hamlet, our portable camp stove, or cook over a campfire. The only electric kitchen appliance we have, and occasionally use, is an immersion blender to make smoothies, sauces, pesto, blended cocktails, whip cream, egg white meringue, etc. And, BTW, we only spend about $100 per year for propane for both heating and cooking.

So what can we run with our small system?

We can power our LED lighting as well as our sconce lights (above kitchen counter and table), our Fantastic Vent Fan (the single best thing we added during our renovation), charge up our laptops, charge our smartphone, and other personal electronics, as well as just a couple small household appliances. We keep our needs simple, so our power draw is simple. It’s that easy!

The cost of our small system:

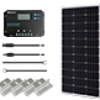
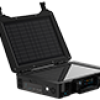
100W Folding Solar Suitcase – $220

Wanderer Li 30A Charge Controller – $40

Bluetooth Module to Monitor on Smartphone – $40

Lithium Iron Phosphate 12-V-50A Battery – $500

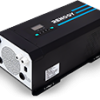
700W 12V Pure Sine Wave Inverter – $150

Total = $950* ($905 with our 10% discount; sorry, no discount available on batteries)

*As Renogy Ambassadors and Affiliates, we’ll help you think through what you need and get you 10% off Renogy products by using our affiliate link and discount code (canlife). For about $900, you can set up a small camper or van with solar power! And, solar will save you money in the long run because you will not need full hook-up sites at campgrounds and you can boondock on free public land all over the country. Contact us, we love to hear from our readers and love to help!

Shari Galiardi & David Hutchison have turned their higher education backgrounds, desire for life-long learning, and thirst for adventure travel into writing, photography, video production, and public speaking tours from coast to coast. Known to their friends as simply Shari & Hutch, you can learn more about their full-time, solar powered adventures on their website at freedominacan.com. Or, follow them on Facebook, Instagram, and YouTube as “Freedom in a Can.”


We will be happy to hear your thoughts

      Leave a reply

      Rubattery
      Logo