Effectively Charge Your RV Batteries While Driving: How & Why to Install a DC to DC Battery Charger
When you bought your RV, the folks at the dealership might have told you that your RV battery bank will charge up while you are driving so that you can boondock for a bit of time without an electrical hook-up or gas generator. This statement is true — to a certain extent. If you have a 7-way connector that is wired directly to your vehicle’s starting battery, your trailer batteries will get a small trickle charge while driving. But, if you have tried this, you may have been as disappointed, as my parents were on their 2017 travel trailer, by the amount of charge you are actually able to get.
To fully understand why this isn’t an effective way to charge, let’s look more closely at how typical towing vehicles and RV battery systems work together. There are two different types of batteries which are part of this equation. First, the starting battery (also known as a CCA battery) starts the engine and powers all of the vehicle’s electronics. While the engine is running, the alternator continuously charges the starting battery. Second, the RV’s house/service battery or battery bank (typically deep cycle batteries) run everything electrical in your living space when you aren’t plugged into shore power. If you have a 7-way connector between your towing vehicle and your RV that powers the electric brakes, running lights, turn signals, and brake lights, your vehicle’s starting battery powers these items as well. Therefore, the RV’s battery bank is only able to get a little bit of that power (usually up to 5 amps); thus, it is just a trickle charge. Simply put, this is not enough power to do the job effectively. Note: This issue can be true for a van or motorhome (with no 7-way connector in the equation) as the starting battery typically trickle charges the house/service batteries.
What is the Solution?
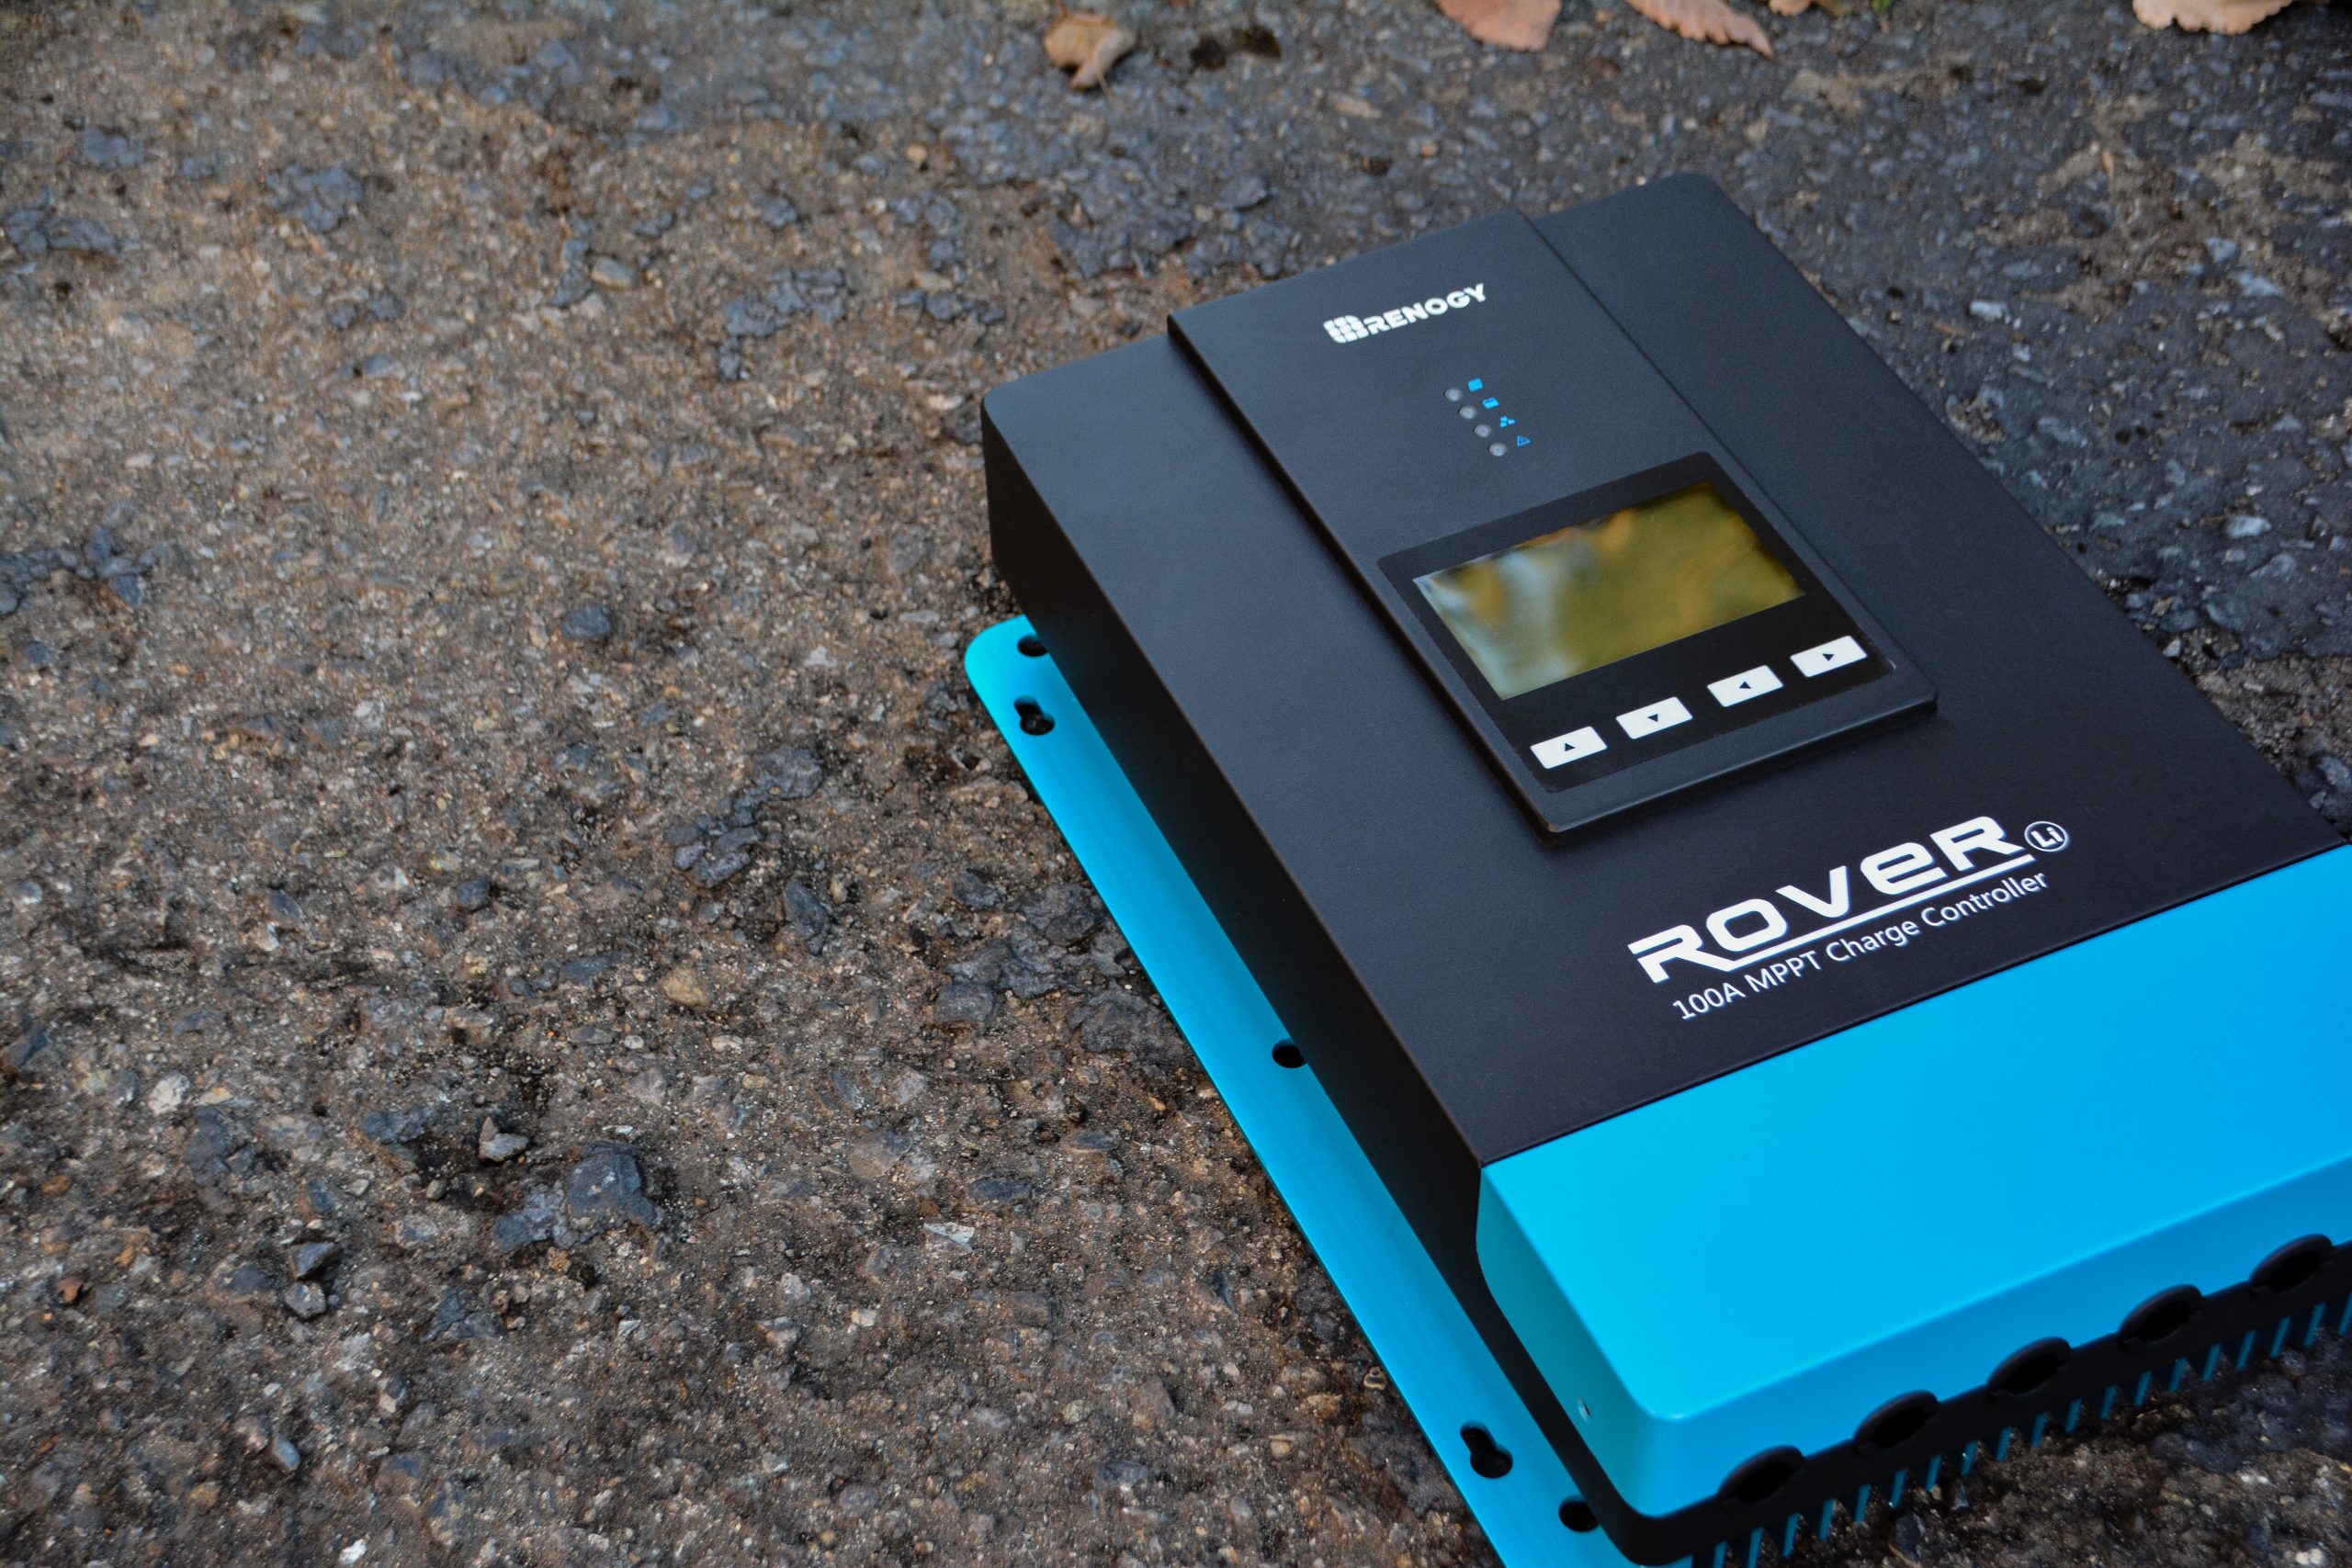
With a DC to DC battery charger integrated into this system, it acts like a pump to electronically boost the voltage (pressure) and amperage (flow) coming from the starting battery to provide a more powerful charge to the RV batteries and greatly reduce charging time. With this unit as part of the system, it’s more like a garden hose rather than an eye dropper to top up your RV’s house/service battery. The maximum amperage with the DC to DC battery charger installed is closer to 20 amps, rather than just 5 amps with a trickle charge.
How is an AC to DC Battery Charger Different than a DC to DC Battery Charger?
AC to DC chargers use the power coming from a standard AC outlet to recharge your RV’s house/service battery, whether that outlet is at a friend’s house or at a campground with electrical hook-ups. DC to DC chargers use your vehicle’s starting battery to do the work instead. For a complete review of Renogy’s AC to DC charger for LFP batteries
, and more explanation of AC and DC power, check out our recent blog.
Which Size and Type of DC to DC Battery Charger is Best for my Needs?
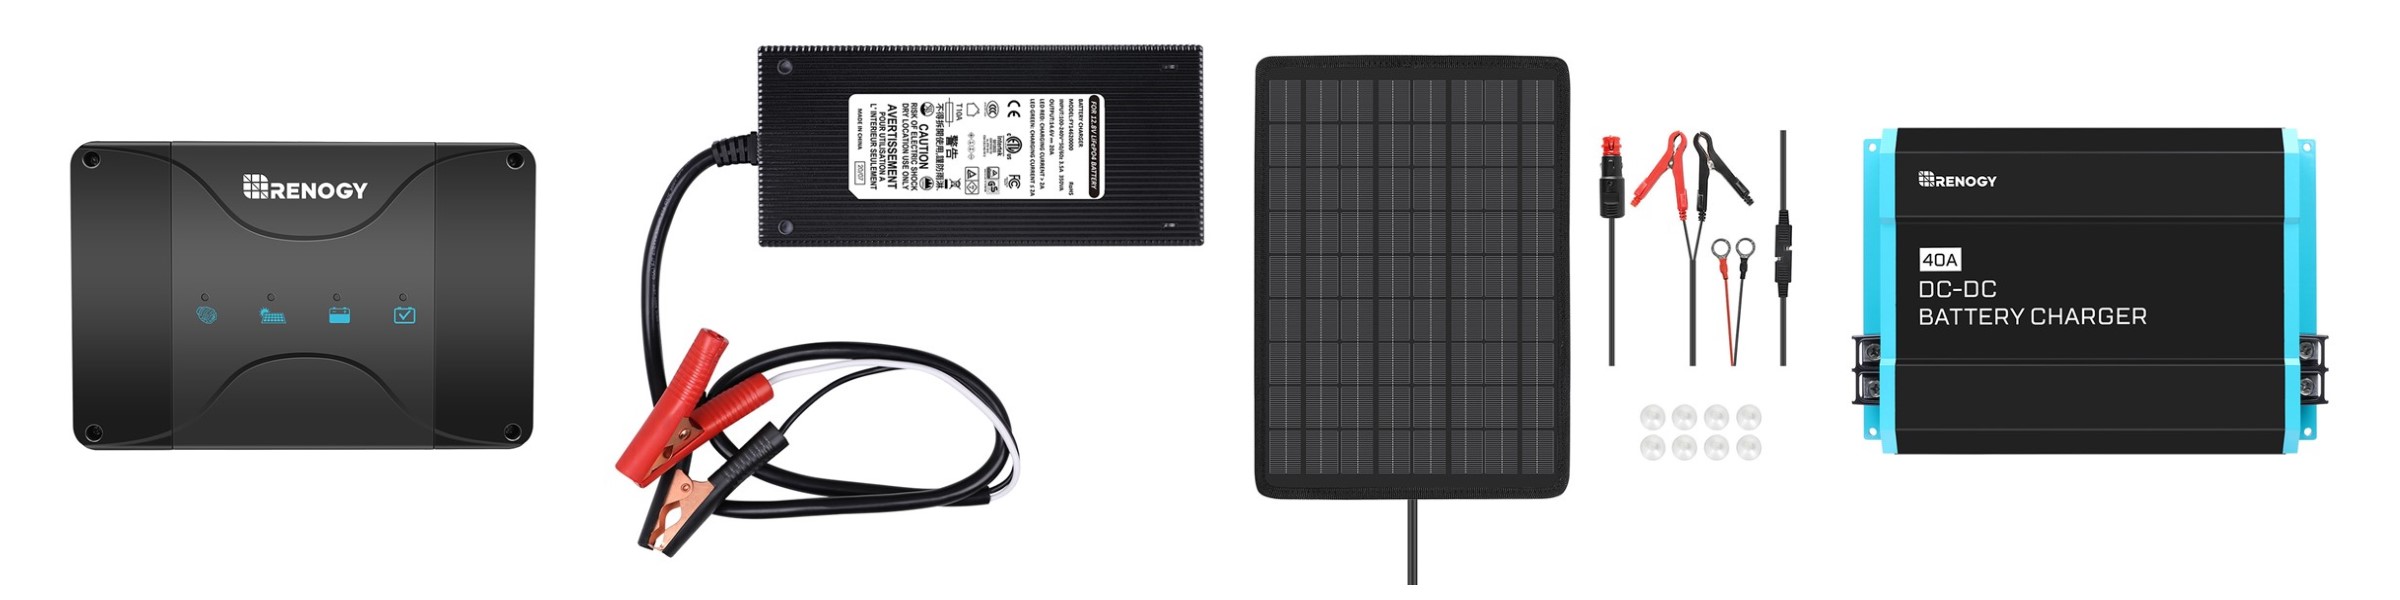
My parents have a mid-sized SUV which hauls their 22-foot Winnebago Micro Minnie. They have two 12V, 74AH batteries, so we chose a 20A DC to DC Battery Charger to do the job. If you have a larger towing vehicle, RV, or battery bank, consider the 40A or 60A versions of this unit. And, if you have solar panels integrated into your RV or van which also charge your service/house battery, Renogy’s Dual Input DC to DC Battery Charger can accept a solar panel charge in addition to a starting battery charge. This smart charger, complete with MPPT technology, takes over the role of charge controller and comes in both 30A and 50A versions. A great side benefit of this unit is that when your house/service battery is full and the solar panels are illuminated, it will trickle charge your vehicle’s starting battery, so you’ll never have to worry about getting stranded out in the middle of nowhere with a dead starting battery.
Is This Installation a DIY Project?
This answer depends on your level of comfort with cutting into and splicing wiring on your towing vehicle. Our installation video will walk you through the necessary steps, but it’s always a good idea to hire someone to do this work if you don’t feel comfortable with it.
A brief overview of the major steps we did during our installation:
1. Determine a location to install the DC to DC battery charger unit as close to the RV’s house/service battery as possible. Make sure the area is water tight and allows for as much air flow as possible. For our vehicle, we chose to secure the unit at the back of the vehicle next to the flat tire tools. This will be different for every vehicle.
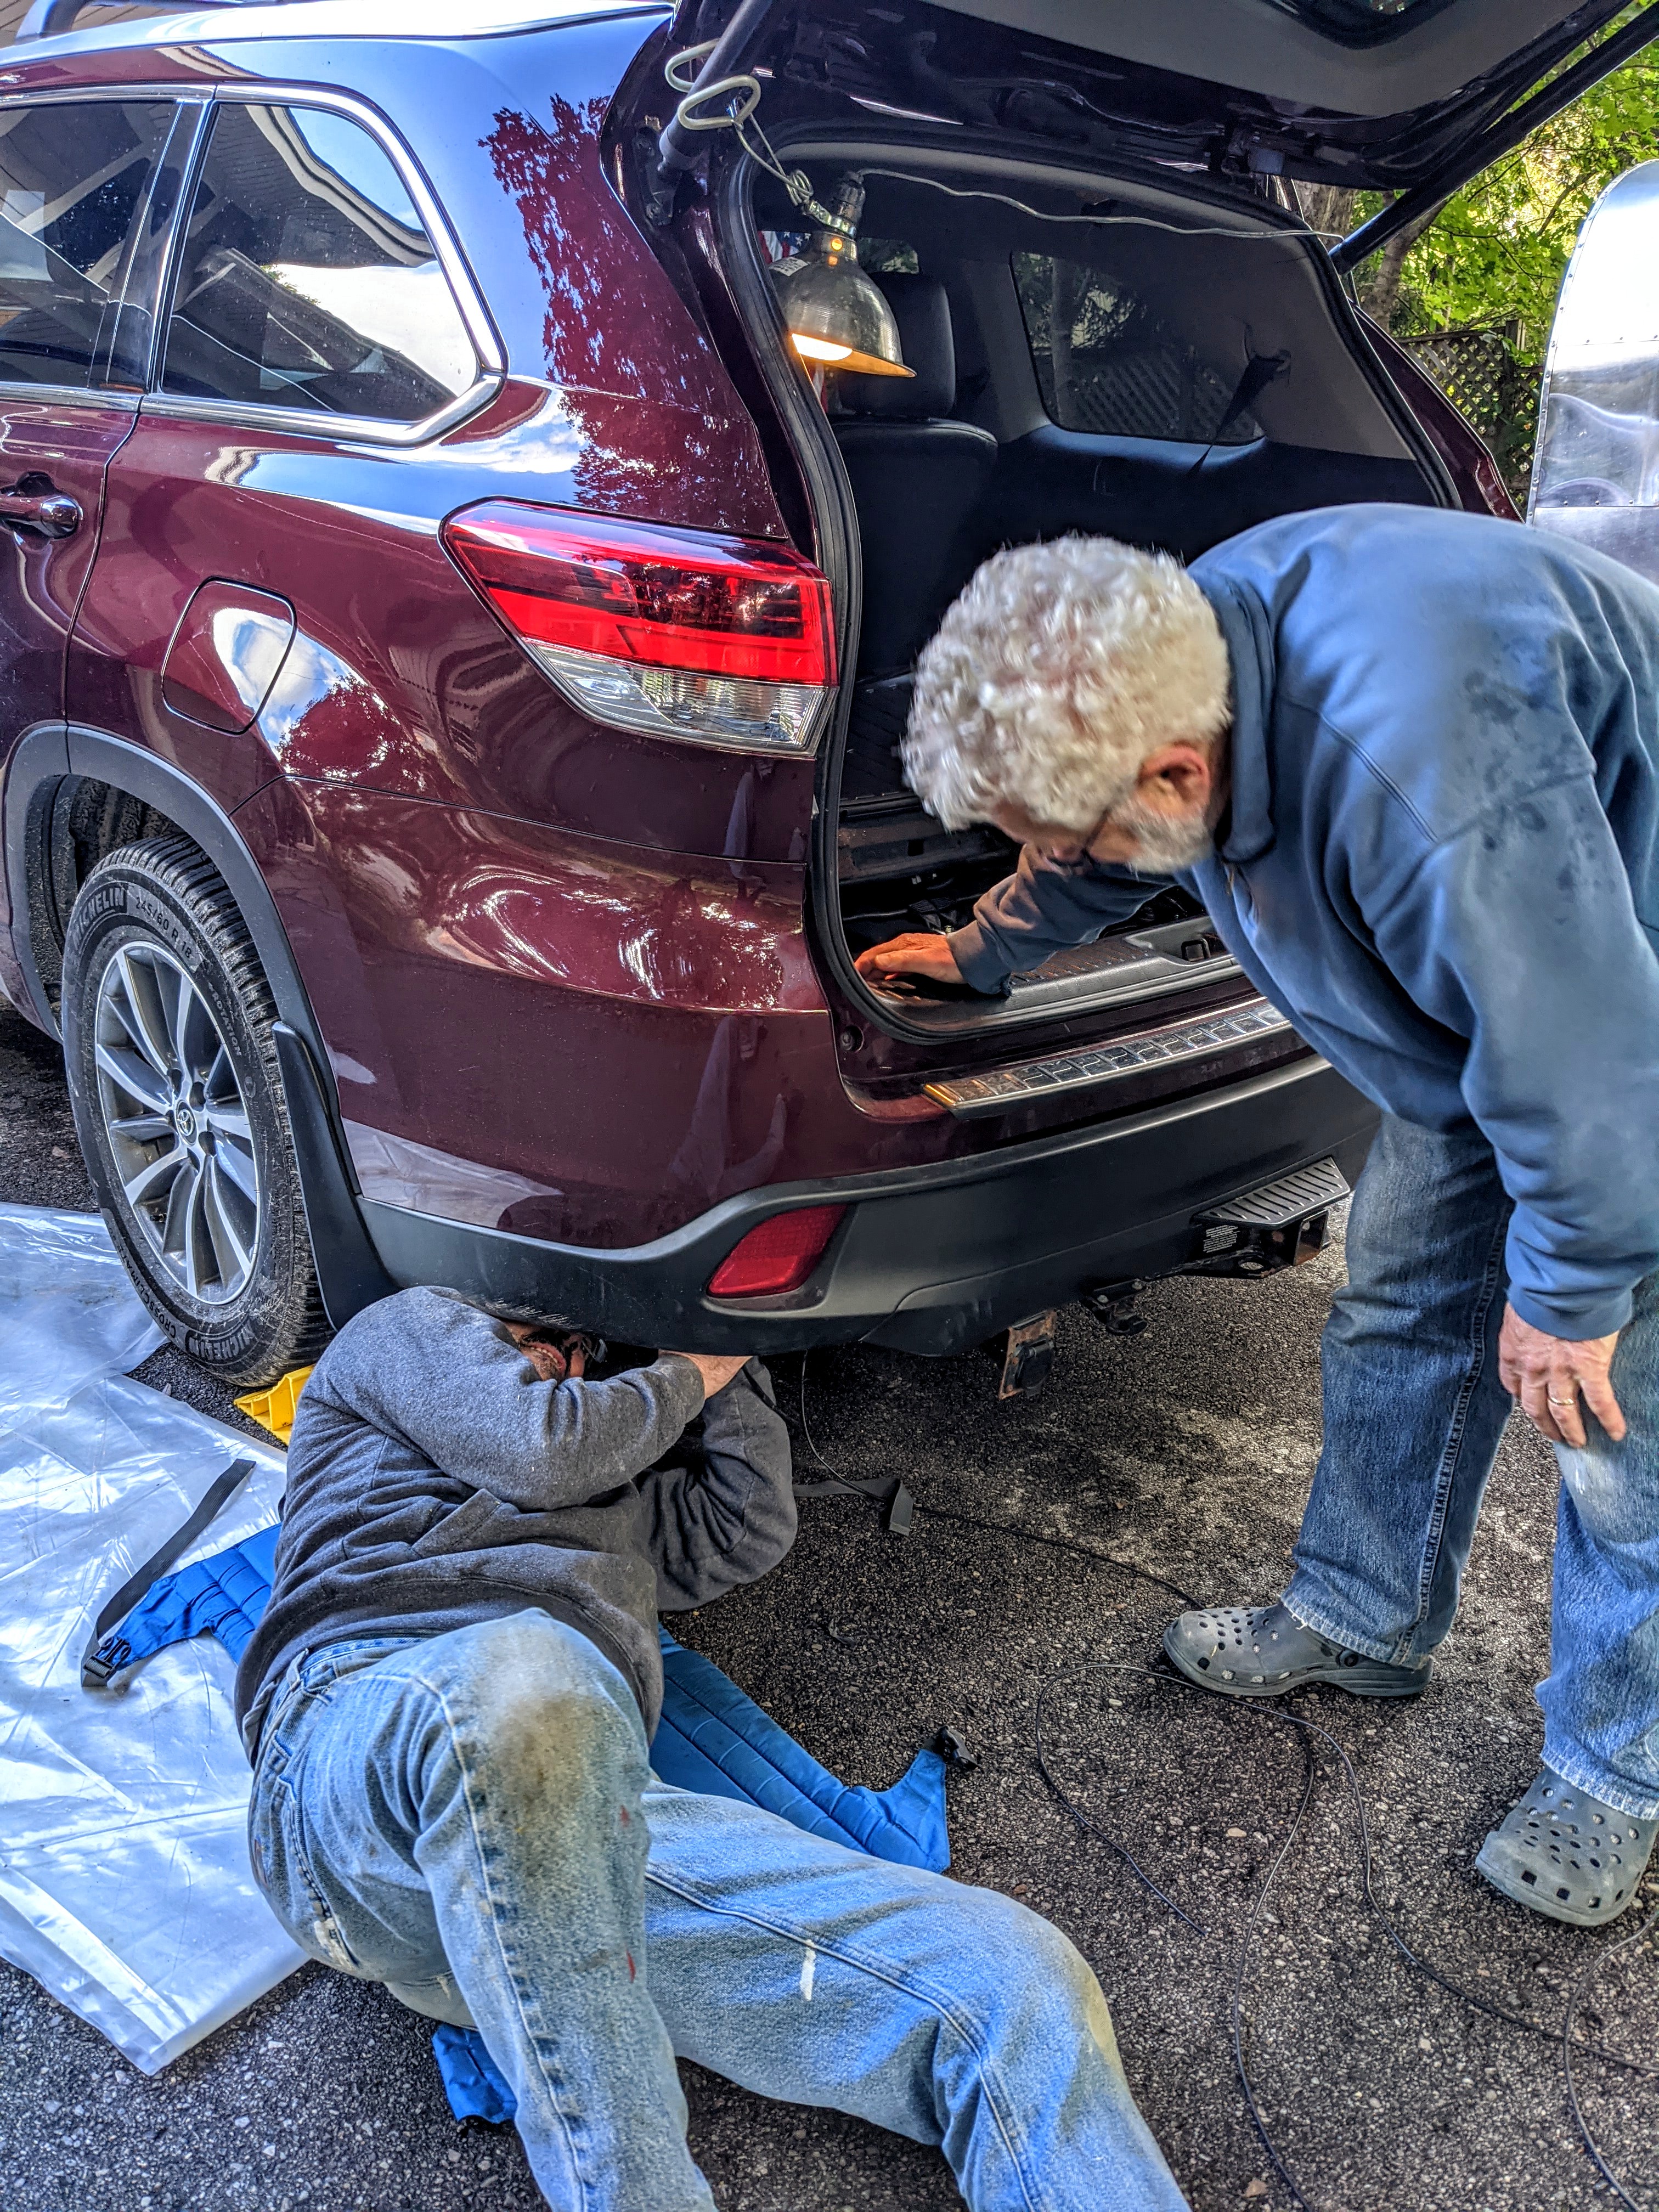
2. Install the input wire from the starting battery to the charger. Thread enough wire (check the installation manual for recommended wire gauge) from the positive terminal on the starting battery to the positive input terminal on the DC to DC charger, leaving yourself some wiggle room. We used 8-gauge wire due to the distance between the starting battery and the charger. This is going to involve crawling around underneath the vehicle. Very important! Do NOT hook the wire to the starting battery at this point. Cap or tape off this wire temporarily, leaving enough wire to make this connection as the final step.
3. Ground the input terminal. Since the starting battery’s negative (neutral) terminal is ground to the chassis of the vehicle, do the same thing to the input terminal on the charger.
4. Ground the output wire from the charger to the 7-way connector. Using 10-12-gauge wire and a T-tap splicer, connect the negative (neutral) wire coming from the charger to the 7-way connector’s neutral wire.
5. Connect D+ wire to the unit. 18-gauge wire will do the trick for this.
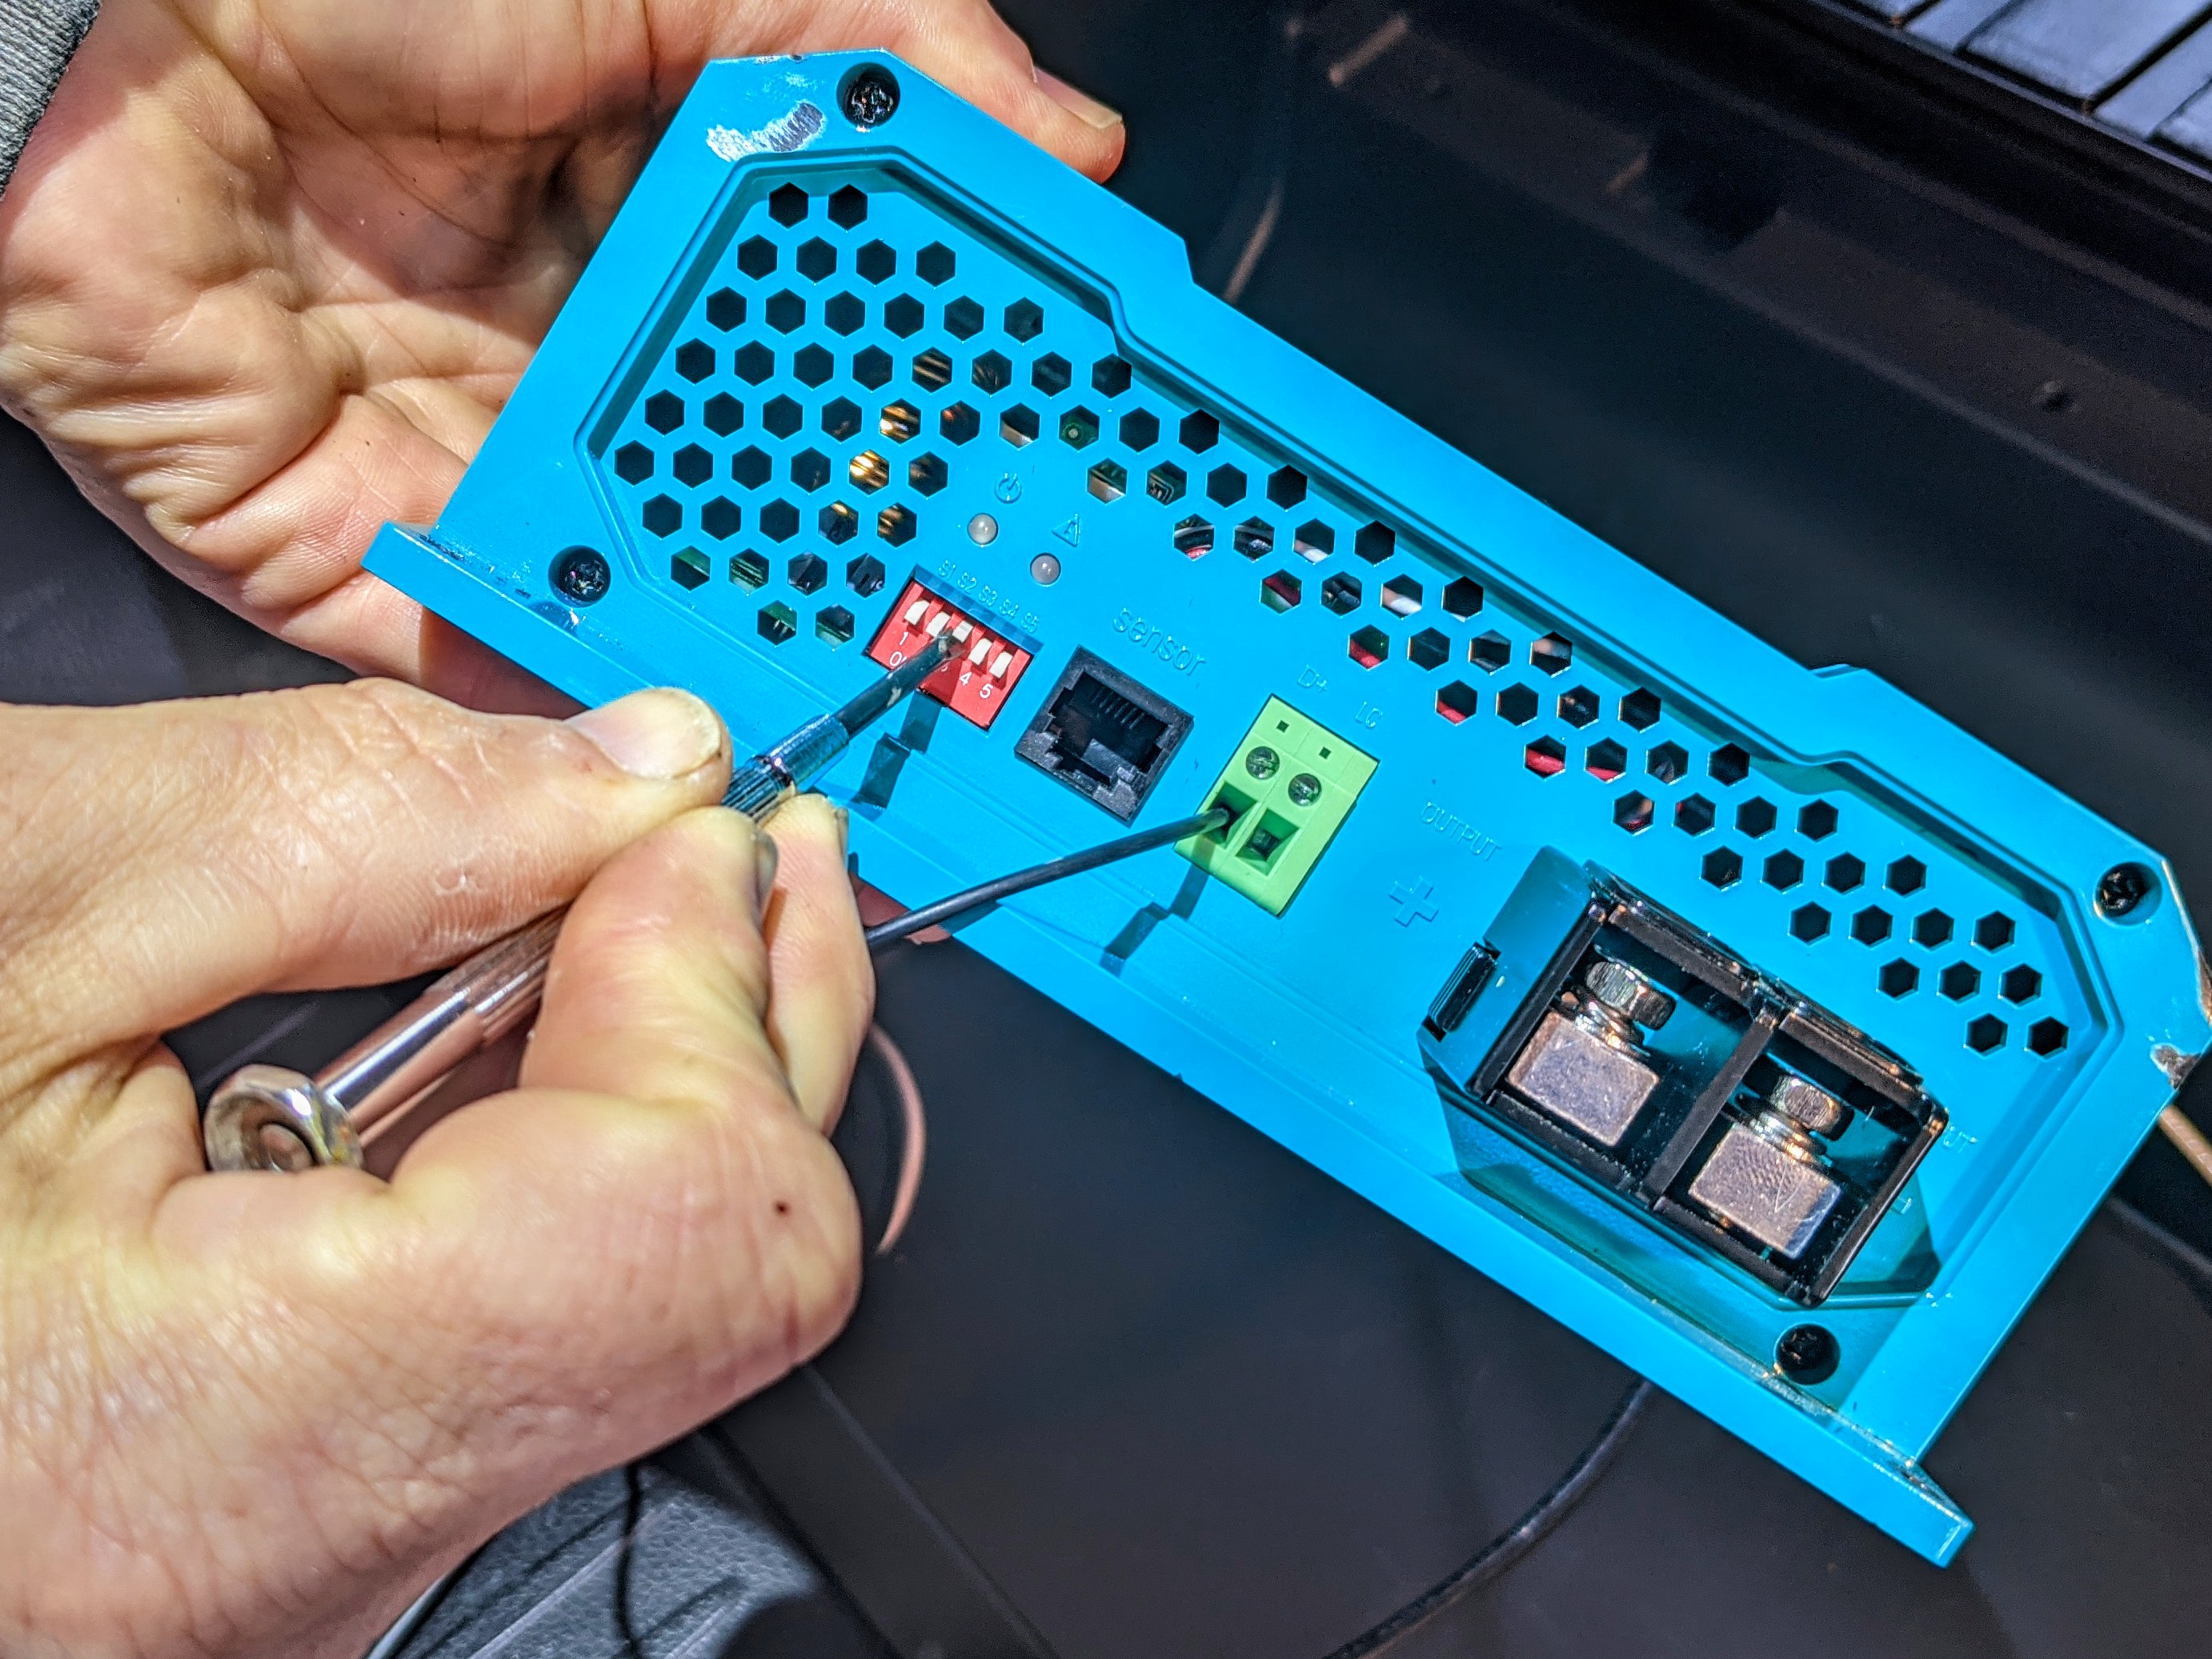
6. Select the charging voltage switches on the charger, depending on the type of house/service battery that you have. Check the manual that came with your charger to determine the setting that is specific to your battery type (e.g., Lithium Iron Phosphate, Lead Acid, AGM, etc.).
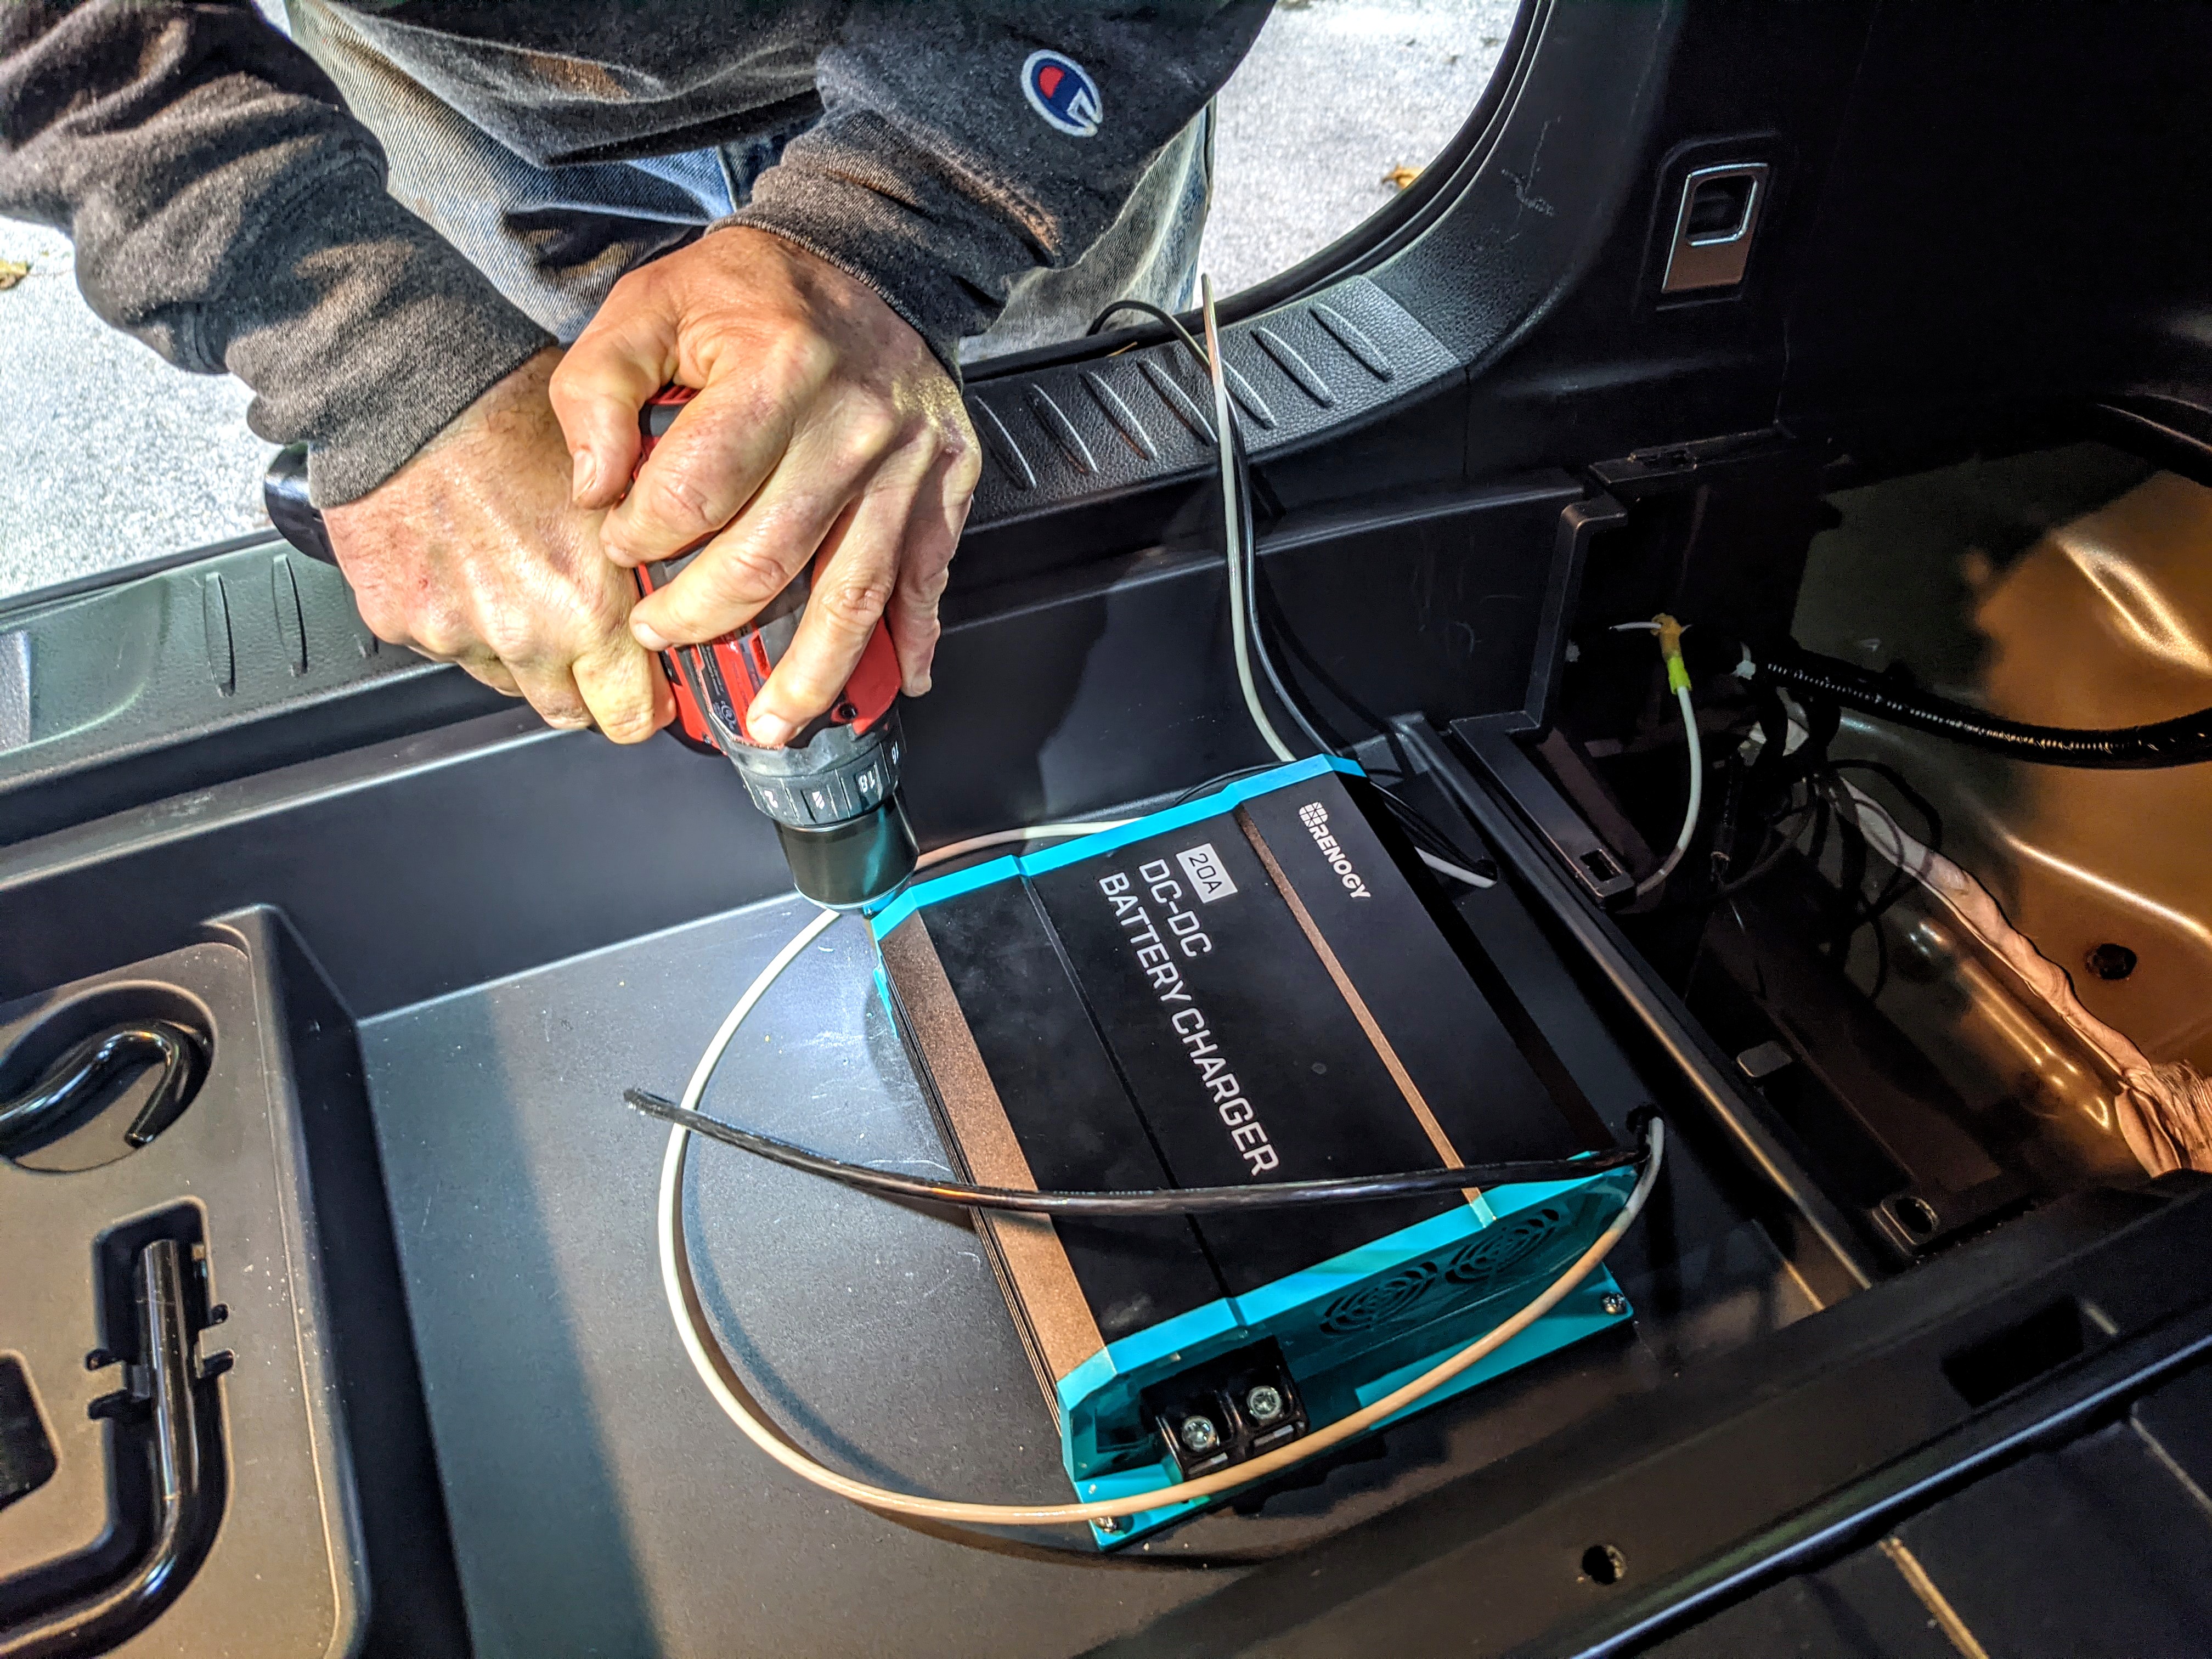
7. Install and secure the DC to DC charger to the vehicle. It can be mounted vertically or horizontally, but it should not move around while the vehicle is in motion. If you don’t have a good deal of room to work with, consider attaching wires, setting all battery parameters, etc. before final mounting of the unit as it will be easier to get tools and your hands into the space.

8. Make all wired connections to the battery charger: Positive Input, Neutral Input, Positive Output, and Neutral Output. If there is already a 10-12-gauge wire going through to the 7-way connector, you can use that wire to connect the charger’s output positive terminal. Install an inline fuse (we used a 25A fuse) between the charger and the 7-way.
9. Connect the D+ wire from the charger to the vehicle’s fuse box. Since the charger will turn on any time it detects a 12V current, it needs to know when you’ve turned on/off the ignition of the vehicle, so you don’t drain the starting battery when the engine is off. Identify a fuse that is connected to the ignition. Check with your vehicle’s manufacturer to determine which fuse might be best. Thread an 18-gauge wire directly from the D+ input on the charger to the fuse box in the vehicle. You can use a fuse tap to make this connection even easier.
10. Attach the positive input wire to the positive (red) terminal of the starting battery. This is the final step, so make sure all wiring is secure downstream of the starting battery (as well as all ground wires in place), then attach a ring connector to the wire and secure it to the starting battery.
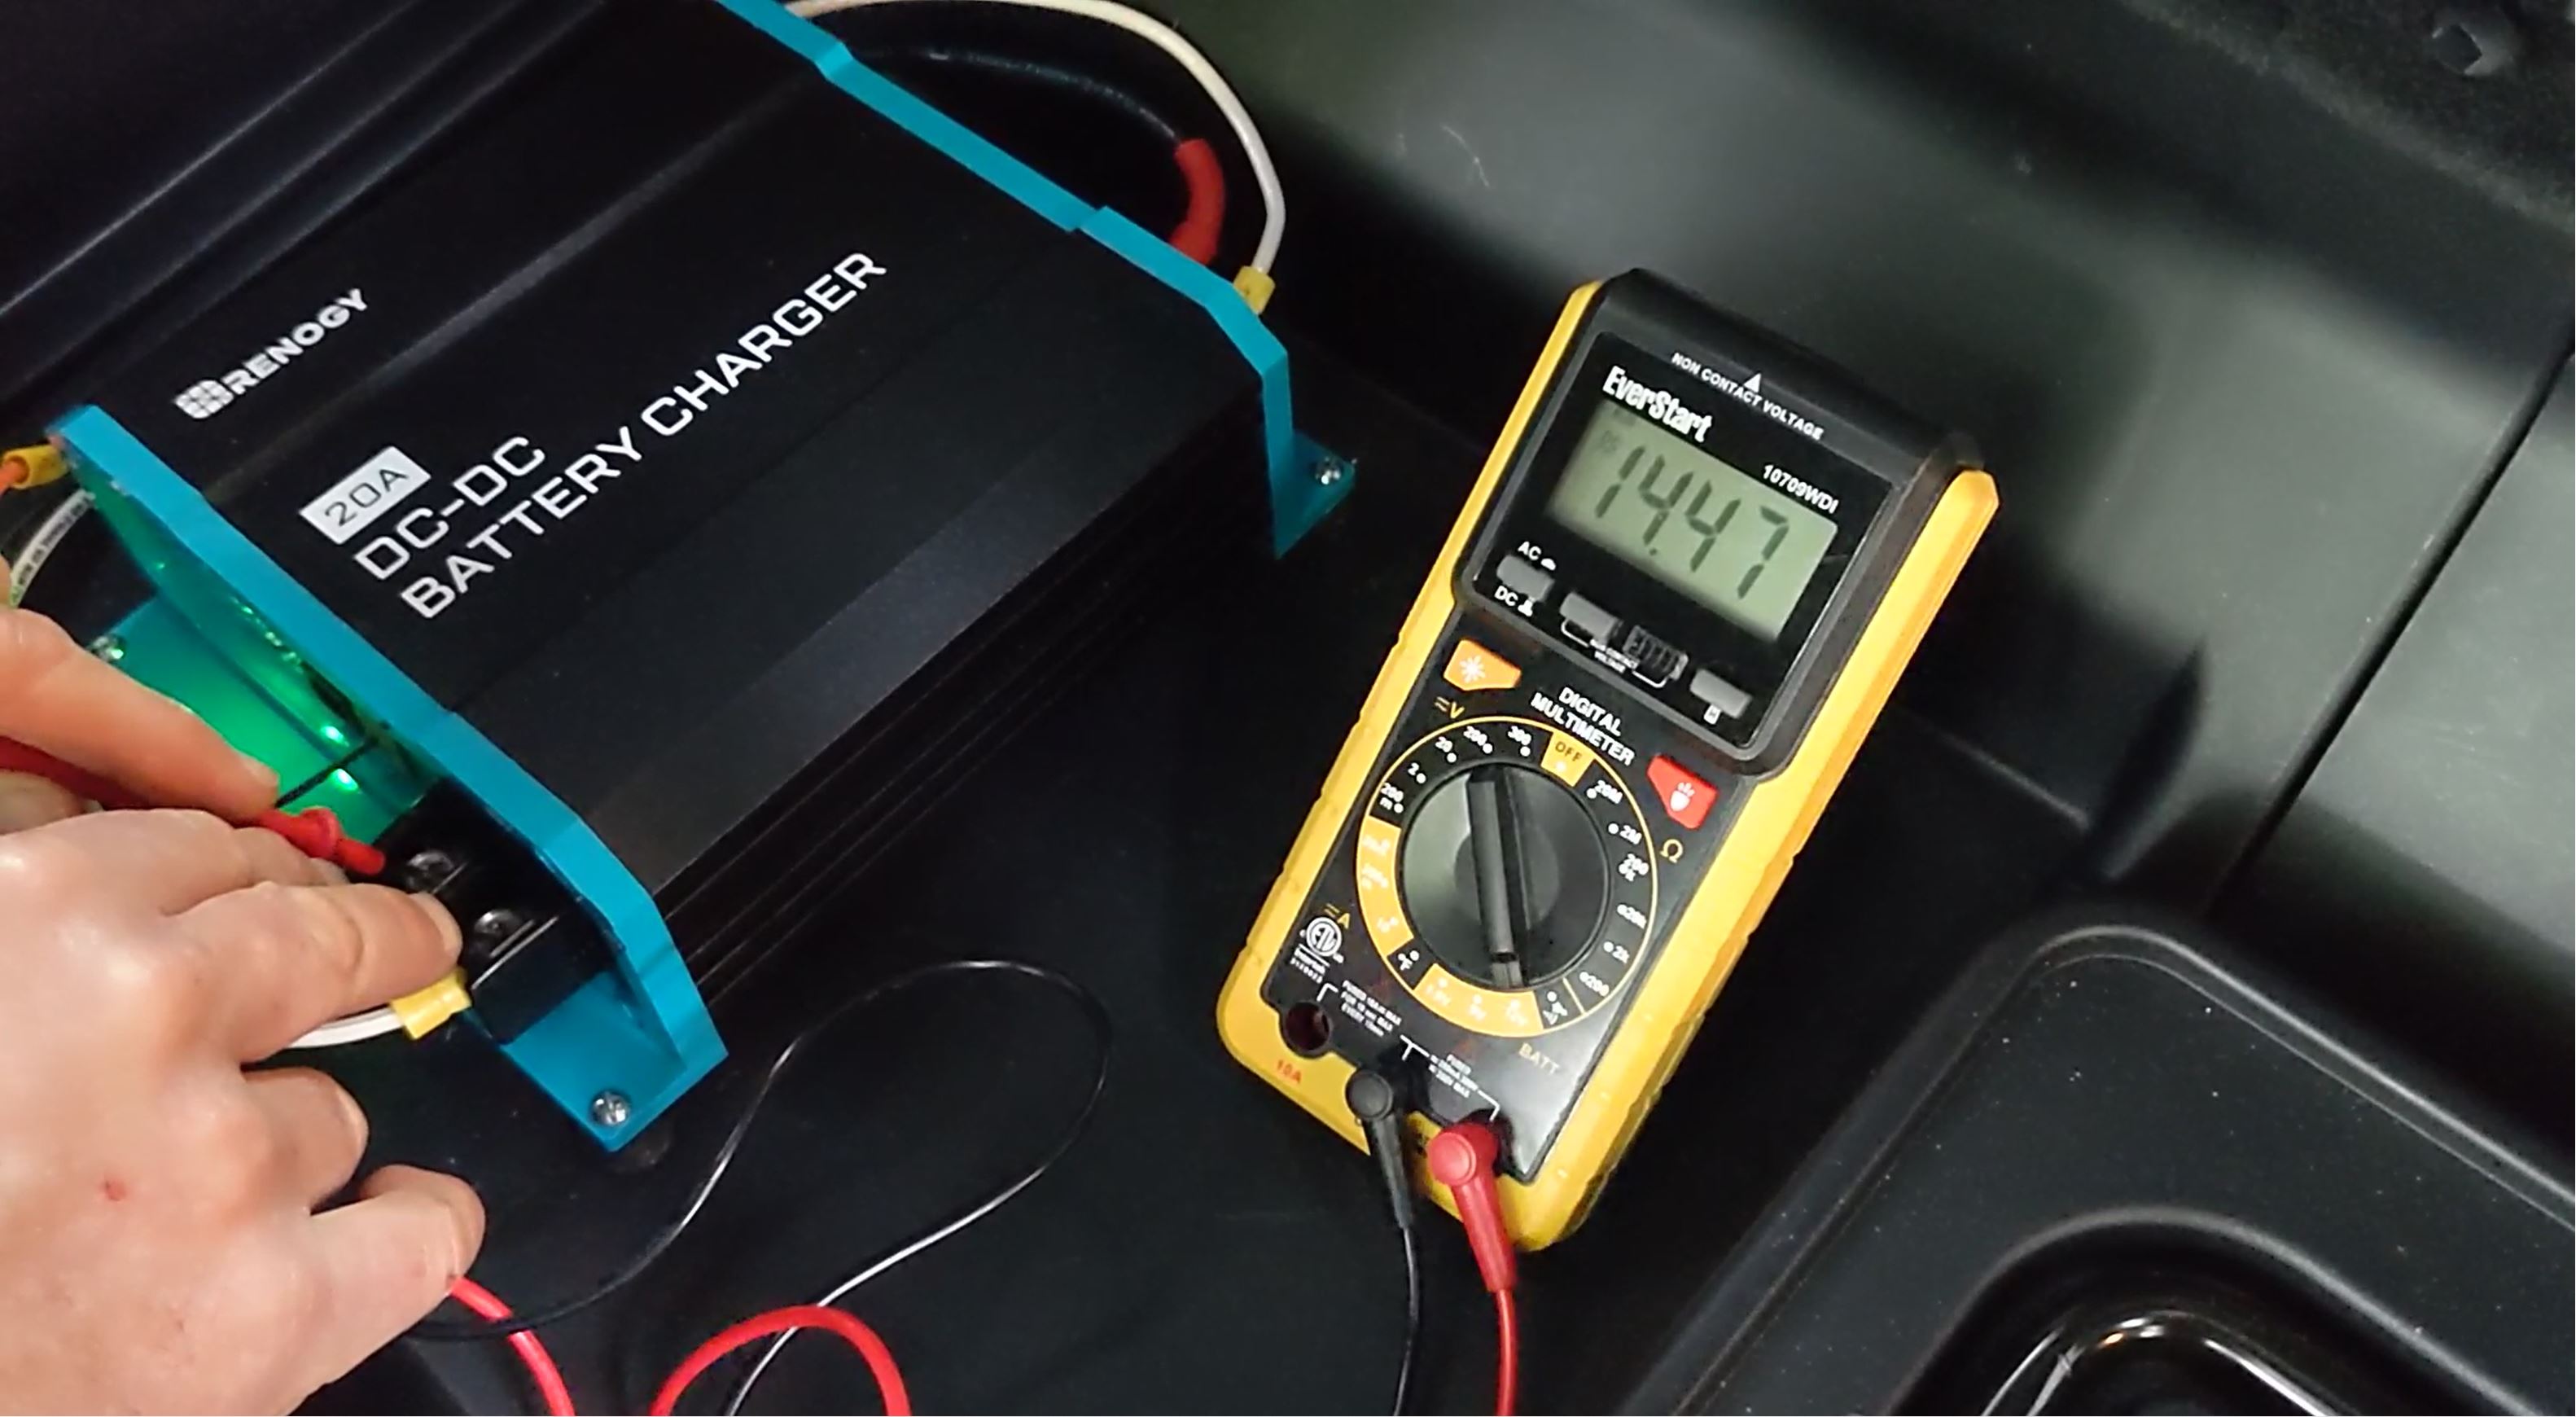
11. Start the engine and make sure the DC to DC battery charger turns on (a blue light will come on). You can use a simple voltage meter to check the voltage coming from the starting battery into the charger (input side), as well as the voltage going out of the charger (output side) to the RV house/service battery.
12. Finally, check the house/service battery bank voltage before you start the vehicle and note the battery status; then, check it again after a couple of hours of driving or just idling the engine to make sure all is working properly.
How Well Does it Work? Is it worth it?
After 2 hours of just idling the towing vehicle, the voltage of the two house/service batteries on my parent’s travel trailer went from 12.0V (~30% charge) to 12.7V (~85% charge). Prior to installing this new unit, it would have probably taken a full day of driving to achieve a similar result using just the 7-way connector. According to my dad, “It’s already worth its weight in gold on our first fall camping trip!” Happy travels Mom & Dad, see you in the southwest at the holidays.
If we’ve inspired you to go solar with Renogy, please use our affiliate link and promo code “canlife.” You will get a 10% discount and we will get credit for the sale. It’s win-win! And, as always, contact us directly with any questions. We love to hear from our readers!
Shari Galiardi & David Hutchison have turned their higher education backgrounds, desire for life-long learning, and thirst for adventure travel into writing, photography, video production, and public speaking tours from coast to coast. Known to their friends as simply Shari & Hutch, you can learn more about their full-time, solar powered adventures on their website at freedominacan.com. Or, follow them on Facebook, Instagram, and YouTube as “Freedom in a Can.”