
Installing Solar Panels On Van or RV
Solar power is a popular solution for people living their best lives on the open road, but that doesn’t make it any less intimidating. How many panels do I need? How do I install the panels? Do I really have to drill holes into the roof of my van? Can I handle the installation on my own without blowing up my van? Here’s some our favorite tips to install solar panels on your rv or van and make sure you have a painless installation.
How many solar panels do I need install on van?
To decide how many panels you need for your van, we recommend using the Renogy
Solar Calculator to help determine your specific needs. The Solar sizing calculator allows you to input information about your lifestyle to help you decide on your solar panel requirements. You’ll just need to know what total watts your electronics will consume, how long you plan on running the devices, your charge controller efficiency, and average sun hours per day. The solar panel calculator will then be able to tell you the minimum and recommended system size, as well as the recommended battery output.
When sizing a system for your van, you also might want to give some extra thought to what you actually need in your space, i.e. do you really need to operate that blow dryer or blender in your space? Maybe an insulated cooler will fit your needs just as well as a refrigerator. Making those adjustments to your lifestyle will save you from having to have a larger, more expensive system to meet your energy needs.
What solar system components I need to install?
Because of the variety of factors at play when it comes to system size and cost,
complete van solar systems can range from around $500 for the simplest set-up to upwards of $2,000 for larger installations. Adding additional panels and batteries will also increase that cost as well.
The key components of a solar van installation are:
- Solar panels: Solar panels come in two main types: monocrystalline and polycrystalline. Polycrystalline panels are cheaper, but they are also less efficient. For vans with limited space, we’d recommend going with monocrystalline panels for the most bang for your buck.
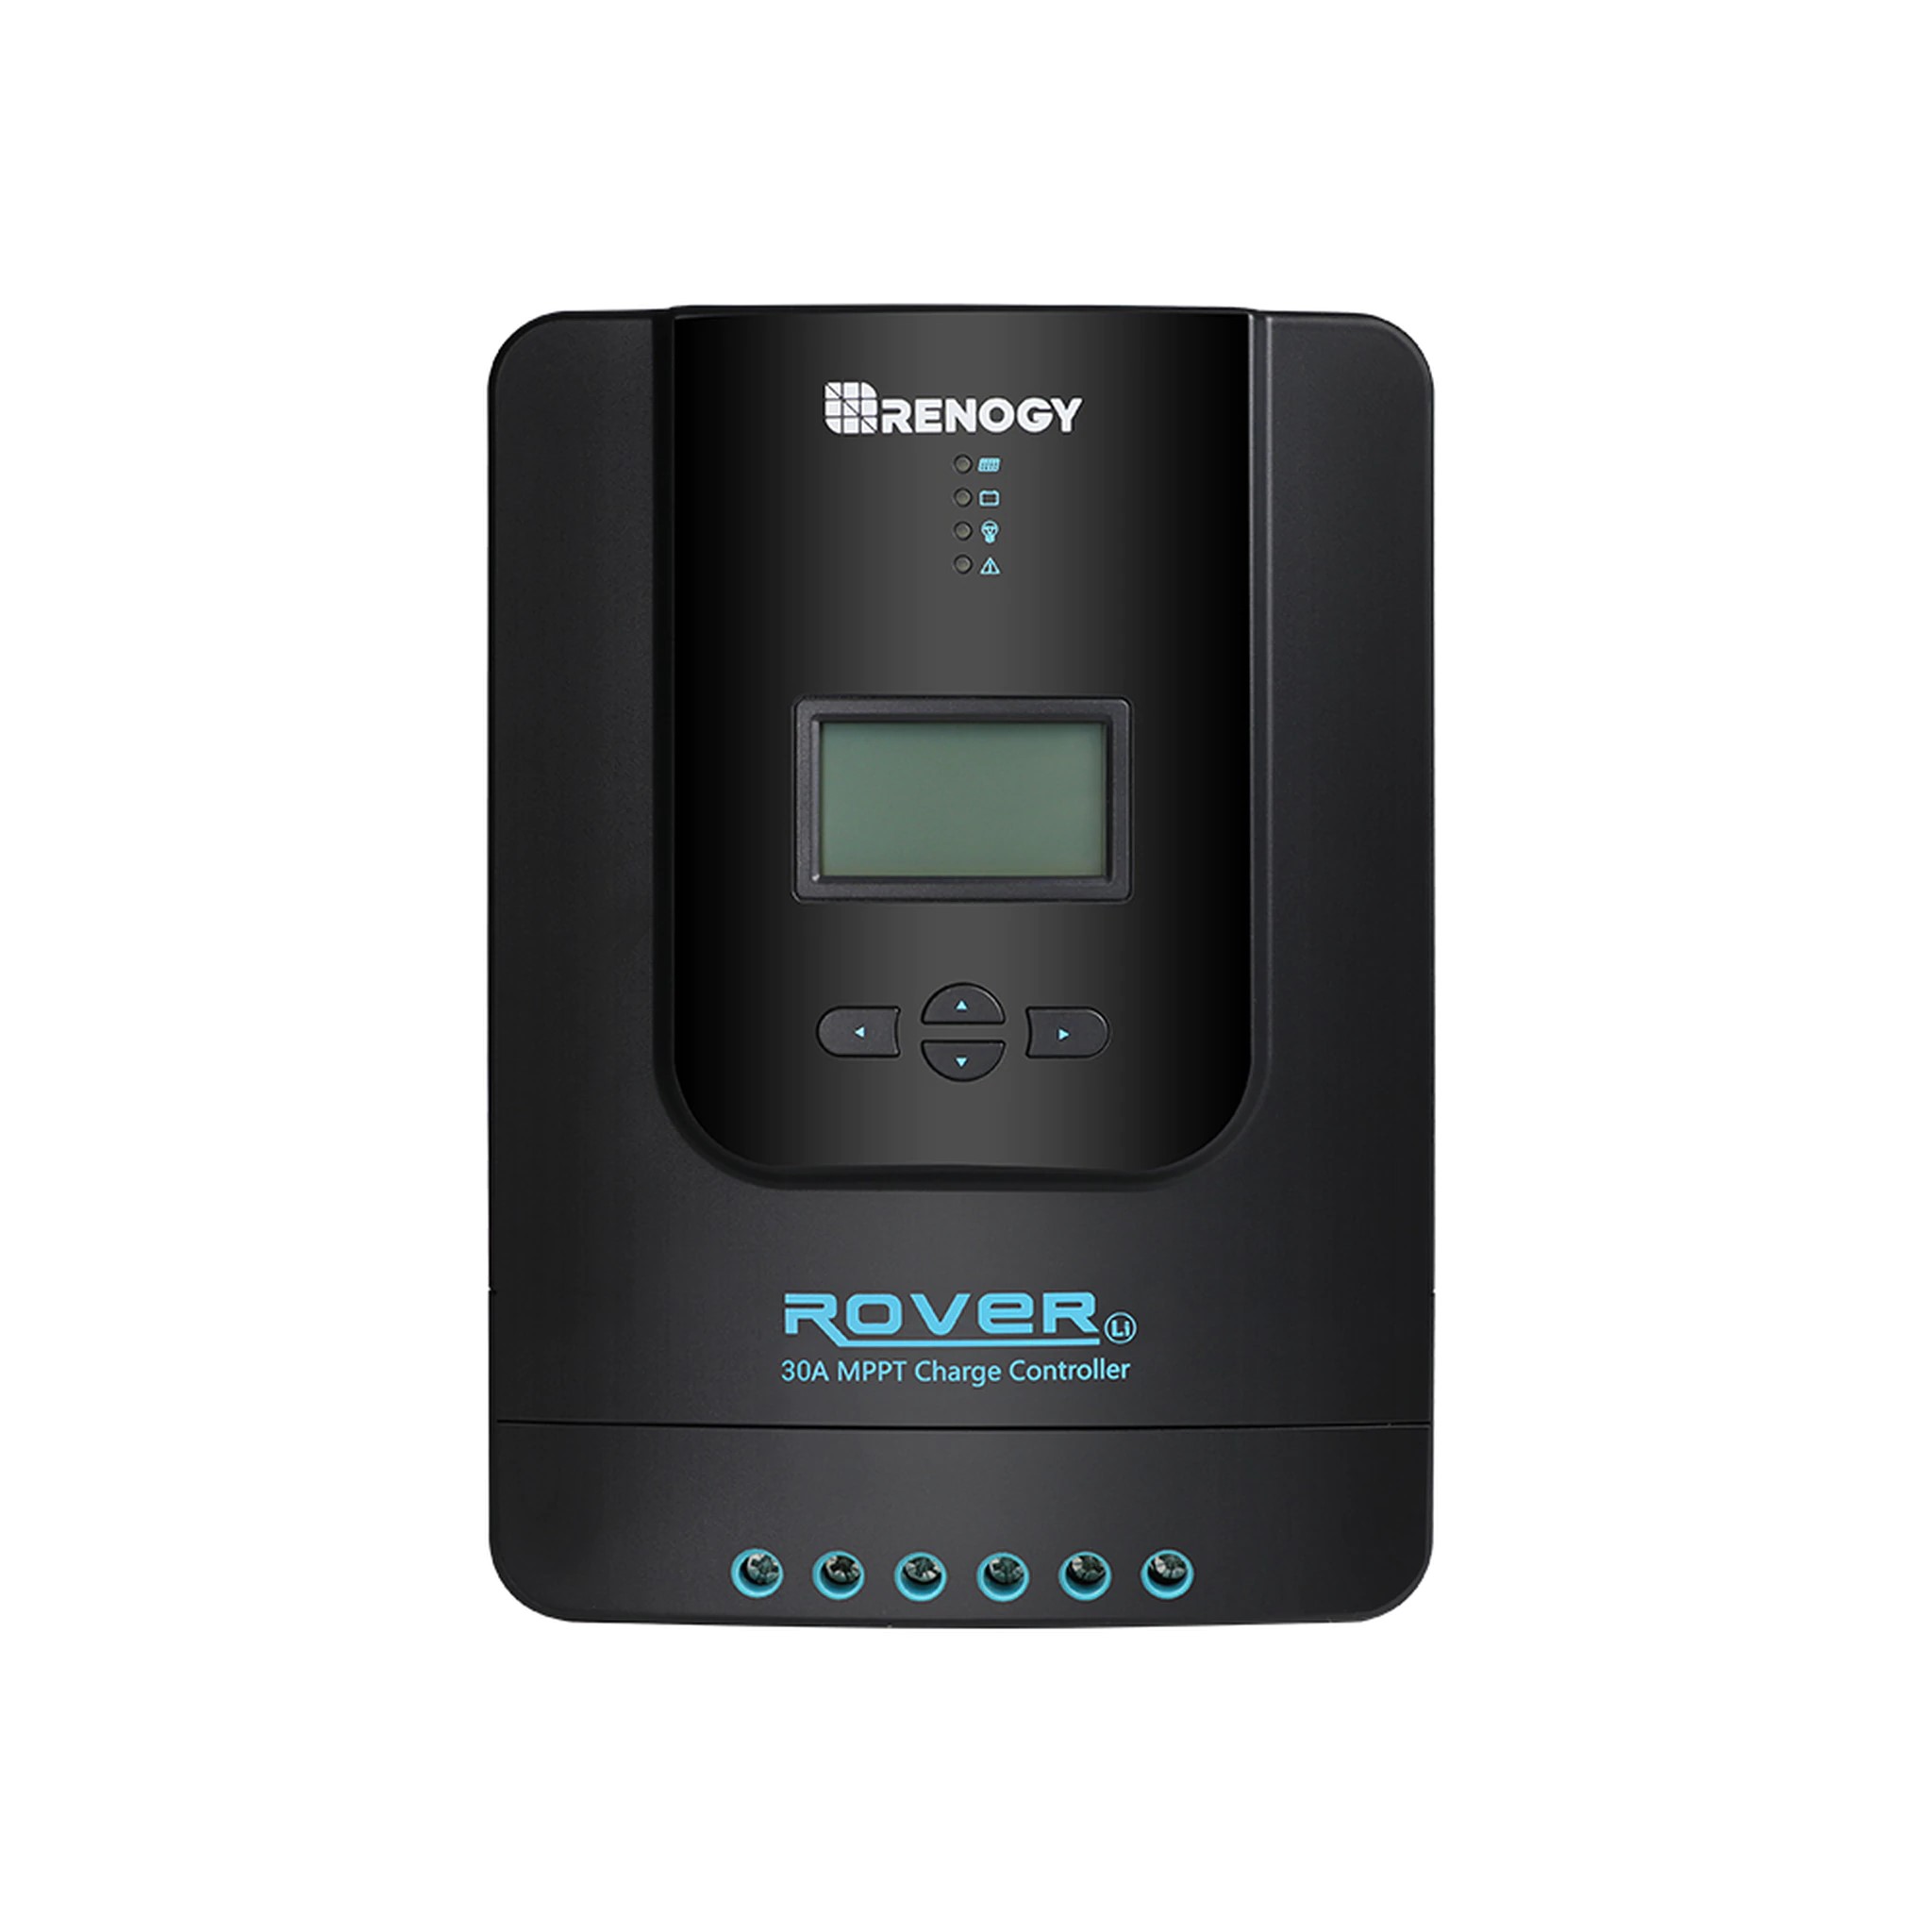
- Charge Controllers: Charge controllers sit between the energy source (panels) and storage (batteries). It prevents overcharging of batteries by limiting the amount and rate of charge to your batteries. They also prevent battery drainage by shutting down the system if stored power falls below 50 percent capacity and charge the batteries at the correct voltage level. This helps preserve the life and health of the batteries.There are two main types: pulse width modulation charge controllers and maximum power point tracking charge controllers.
Pulse Width Modulation charge controllers have been around longer and are simpler and less expensive than MPPT controllers. PWM controllers regulate the flow of energy to the battery by reducing the current gradually, called pulse width modulation.
Maximum Power Point Tracking charge controllers are the best option if efficiency is your highest priority. With MPPT controllers, the current is drawn out of the panel at the maximum power voltage, but they also limit their output to ensure batteries don’t get overcharged. MPPT charge controllers will monitor and adjust their input to regulate the current from your solar system. The overall power output will increase as a result and you can expect efficiency ratings of 90% or higher.
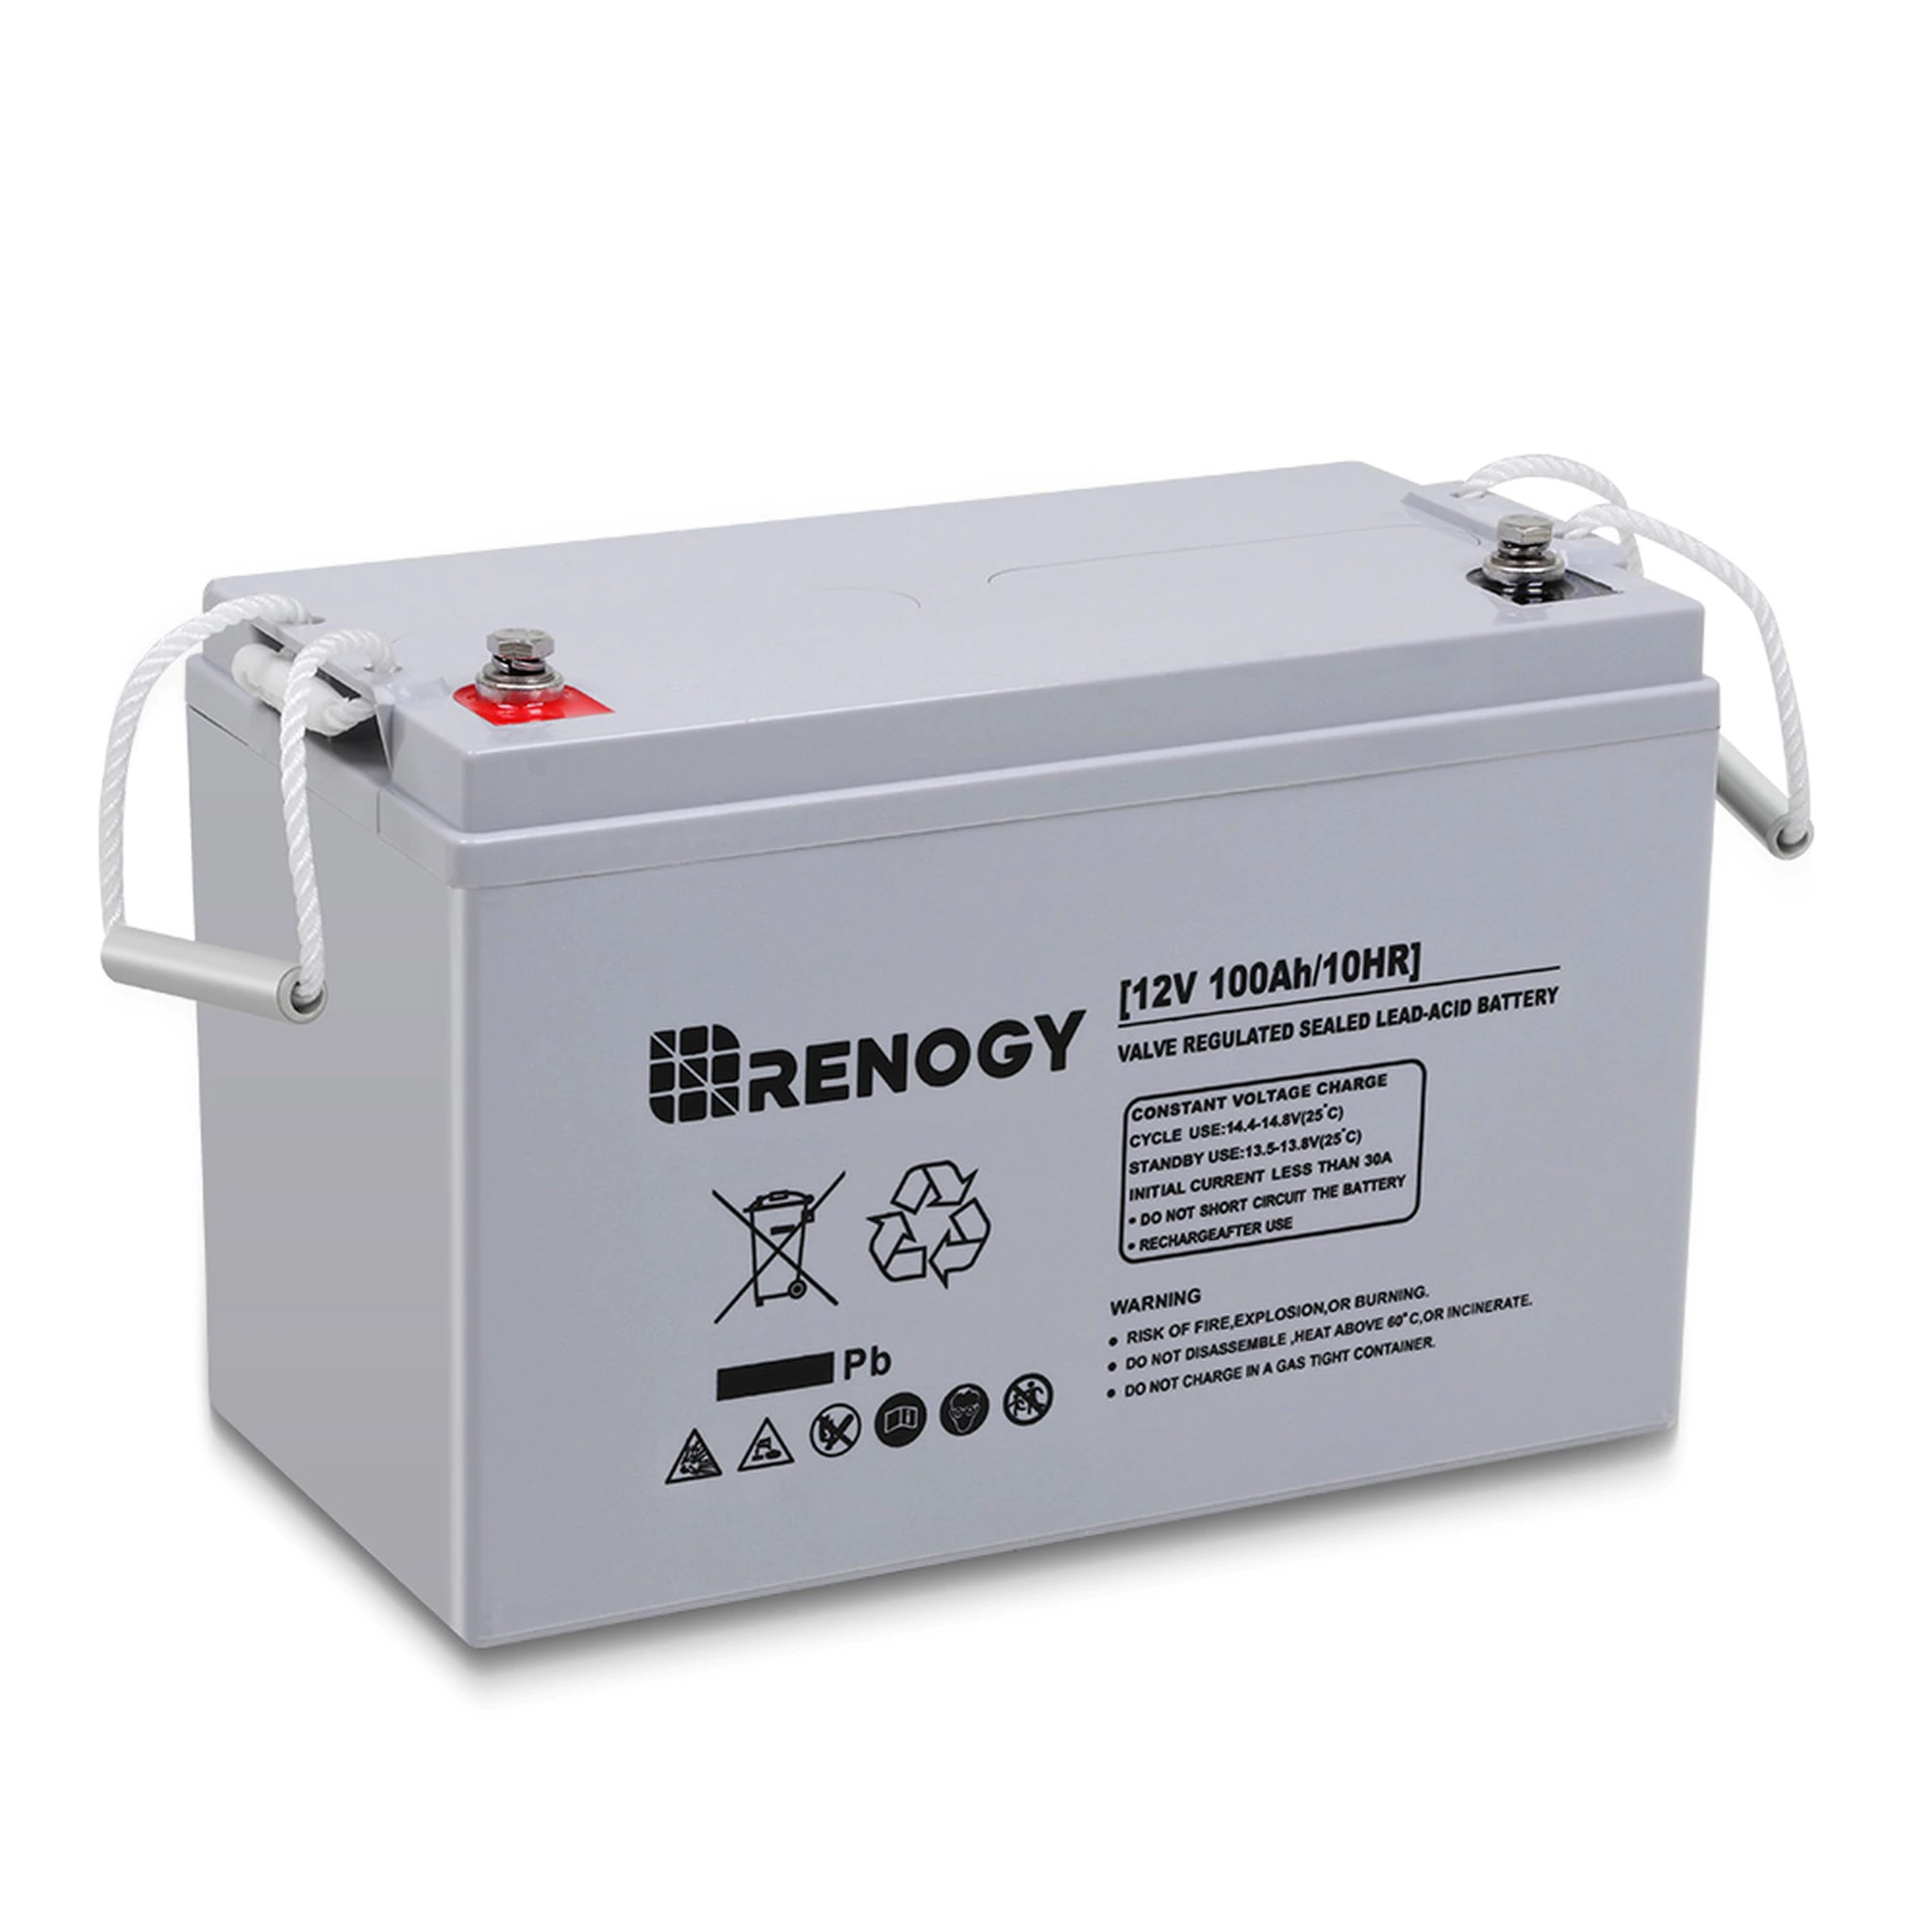
- Battery storage: You’ll also need a way to store all the power you’re generating with your solar panels. There are a range of battery options that range in price from $100 to more than $1200, depending on the technology. Lead acid batteries are the most inexpensive option and are available at most big-box and auto stores. Absorbed glass matt batteries store 10 to 15 percent more energy than lead acid batteries and charge up to four times faster. Lithium ion batteries are the most expensive option, but also last four times longer than lead-acid batteries and weigh much less.
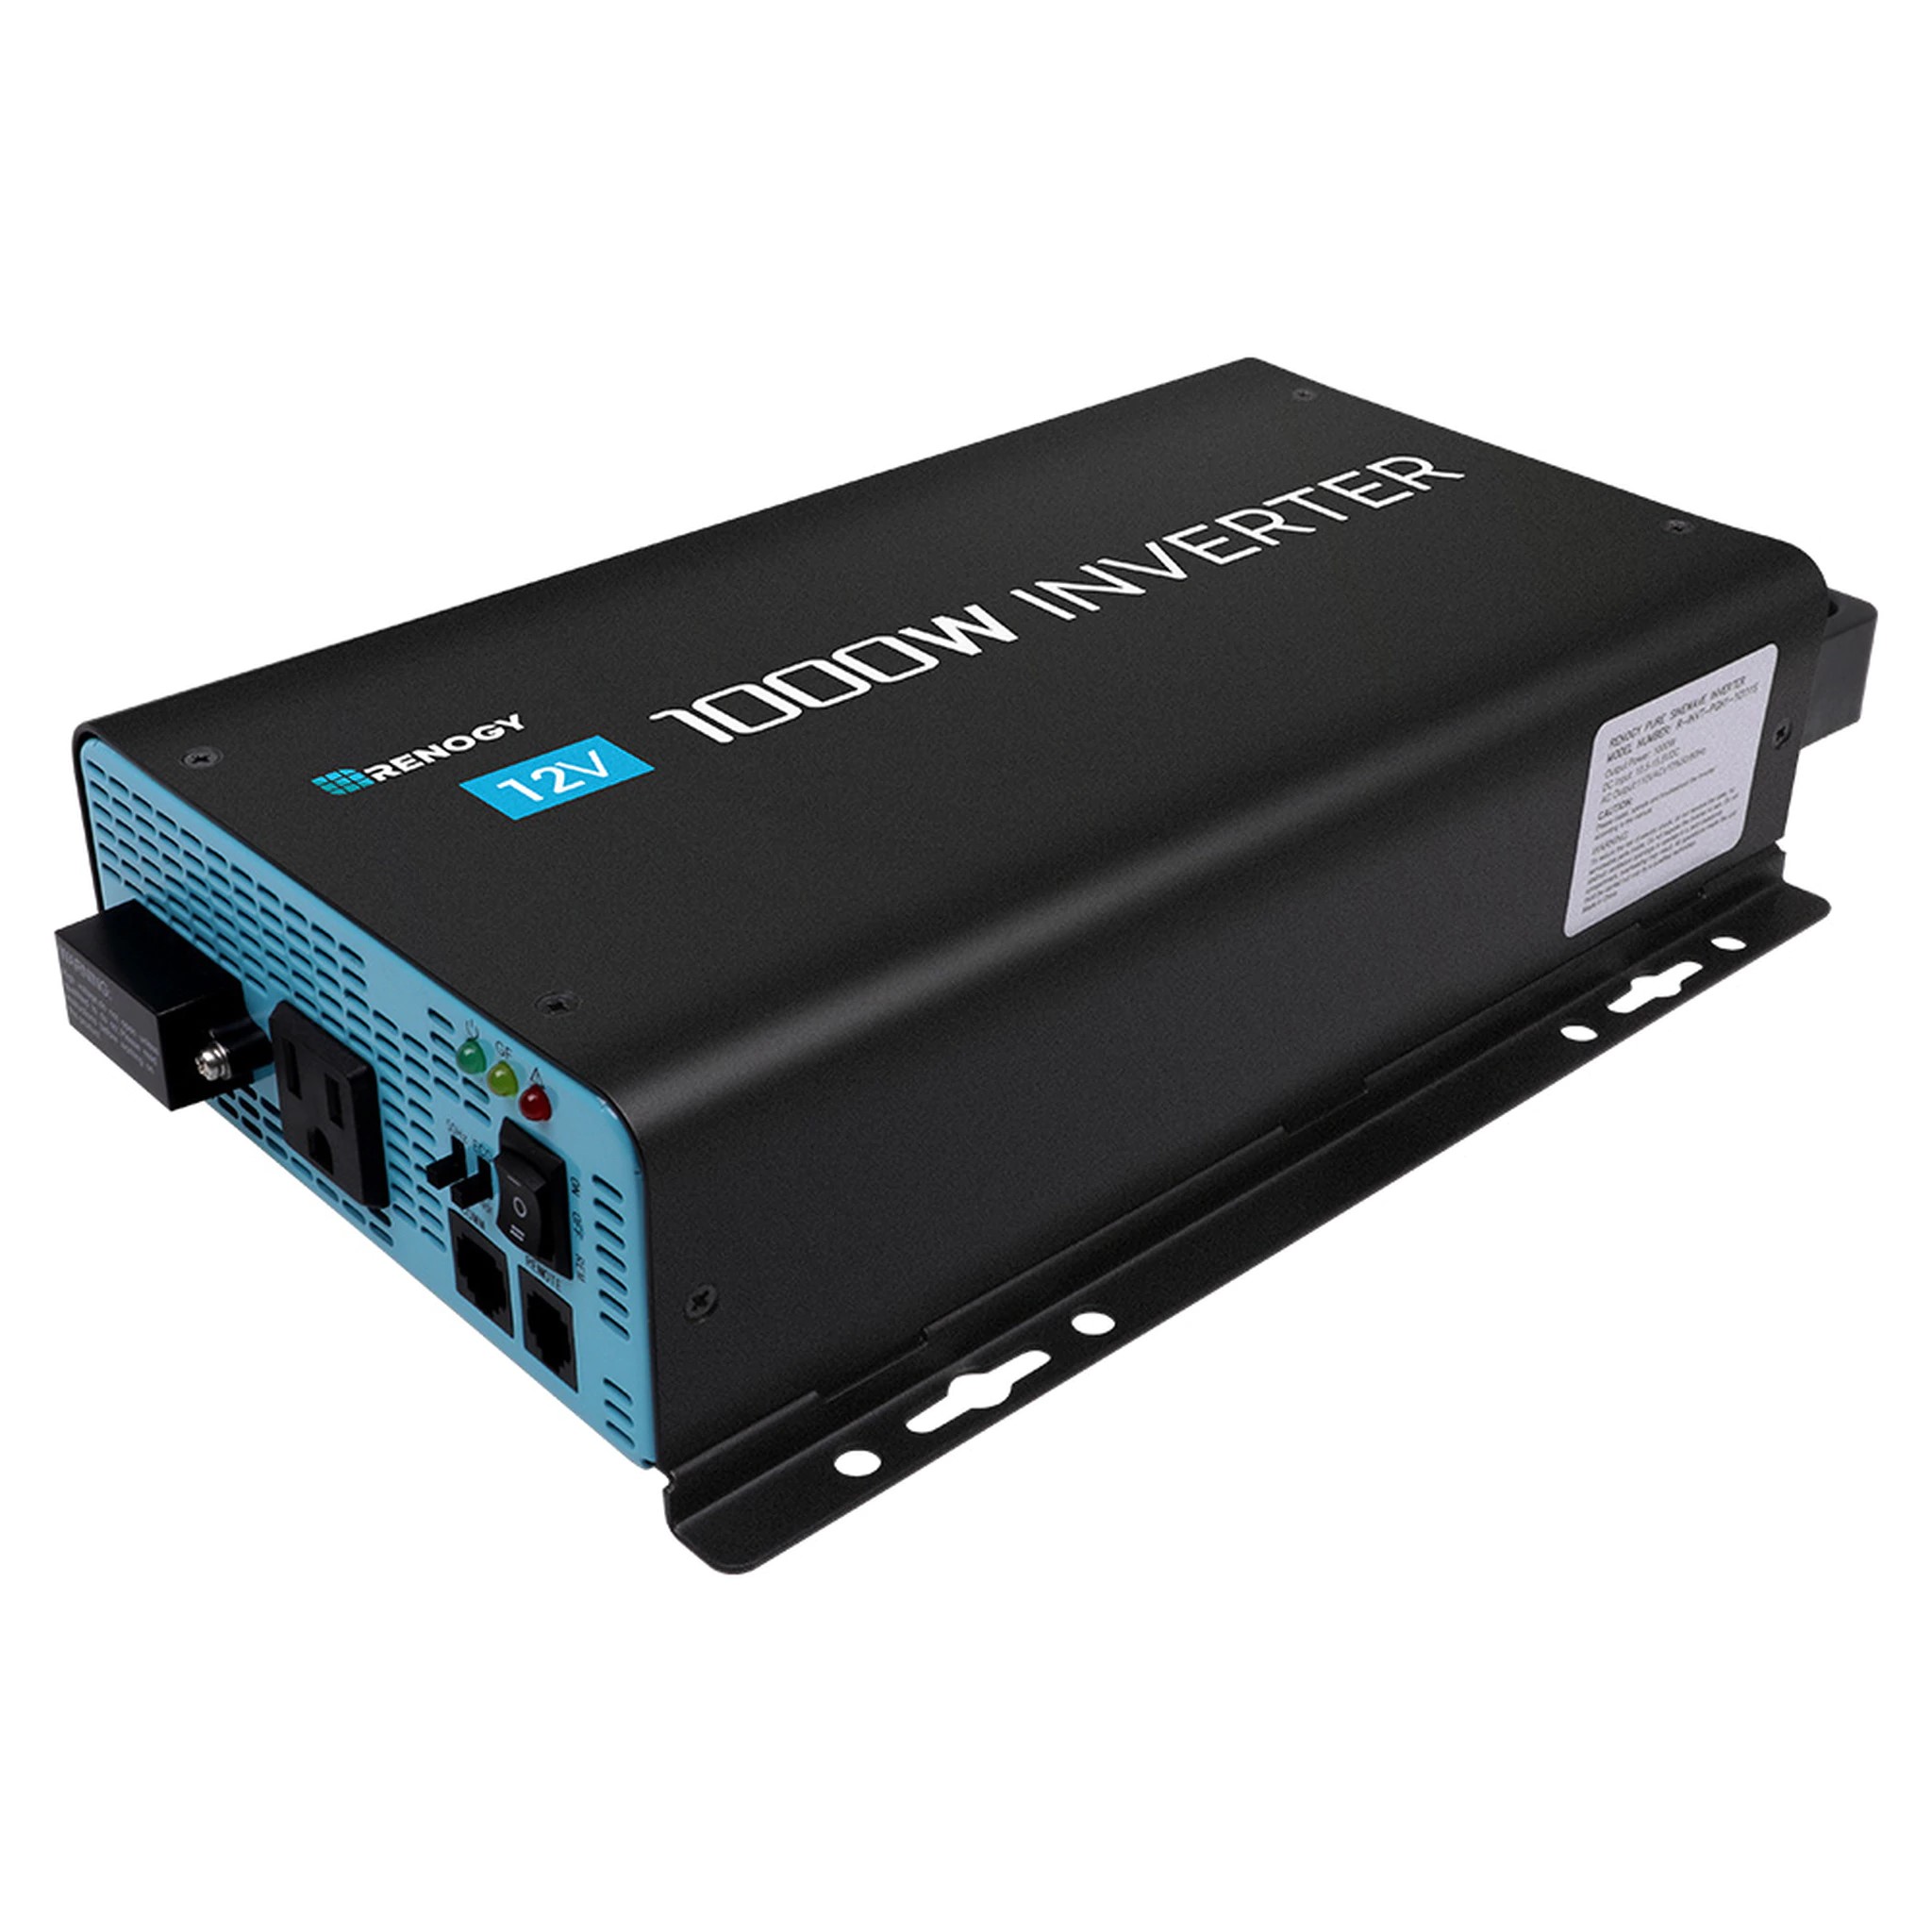
- Inverters: Inverters turn DC power produced from your solar panels and stored in your battery into AC power. An inverter is necessary to power the common appliances found in your RV or van, from laptops to microwaves. Inverters range from $150 to more than $350.
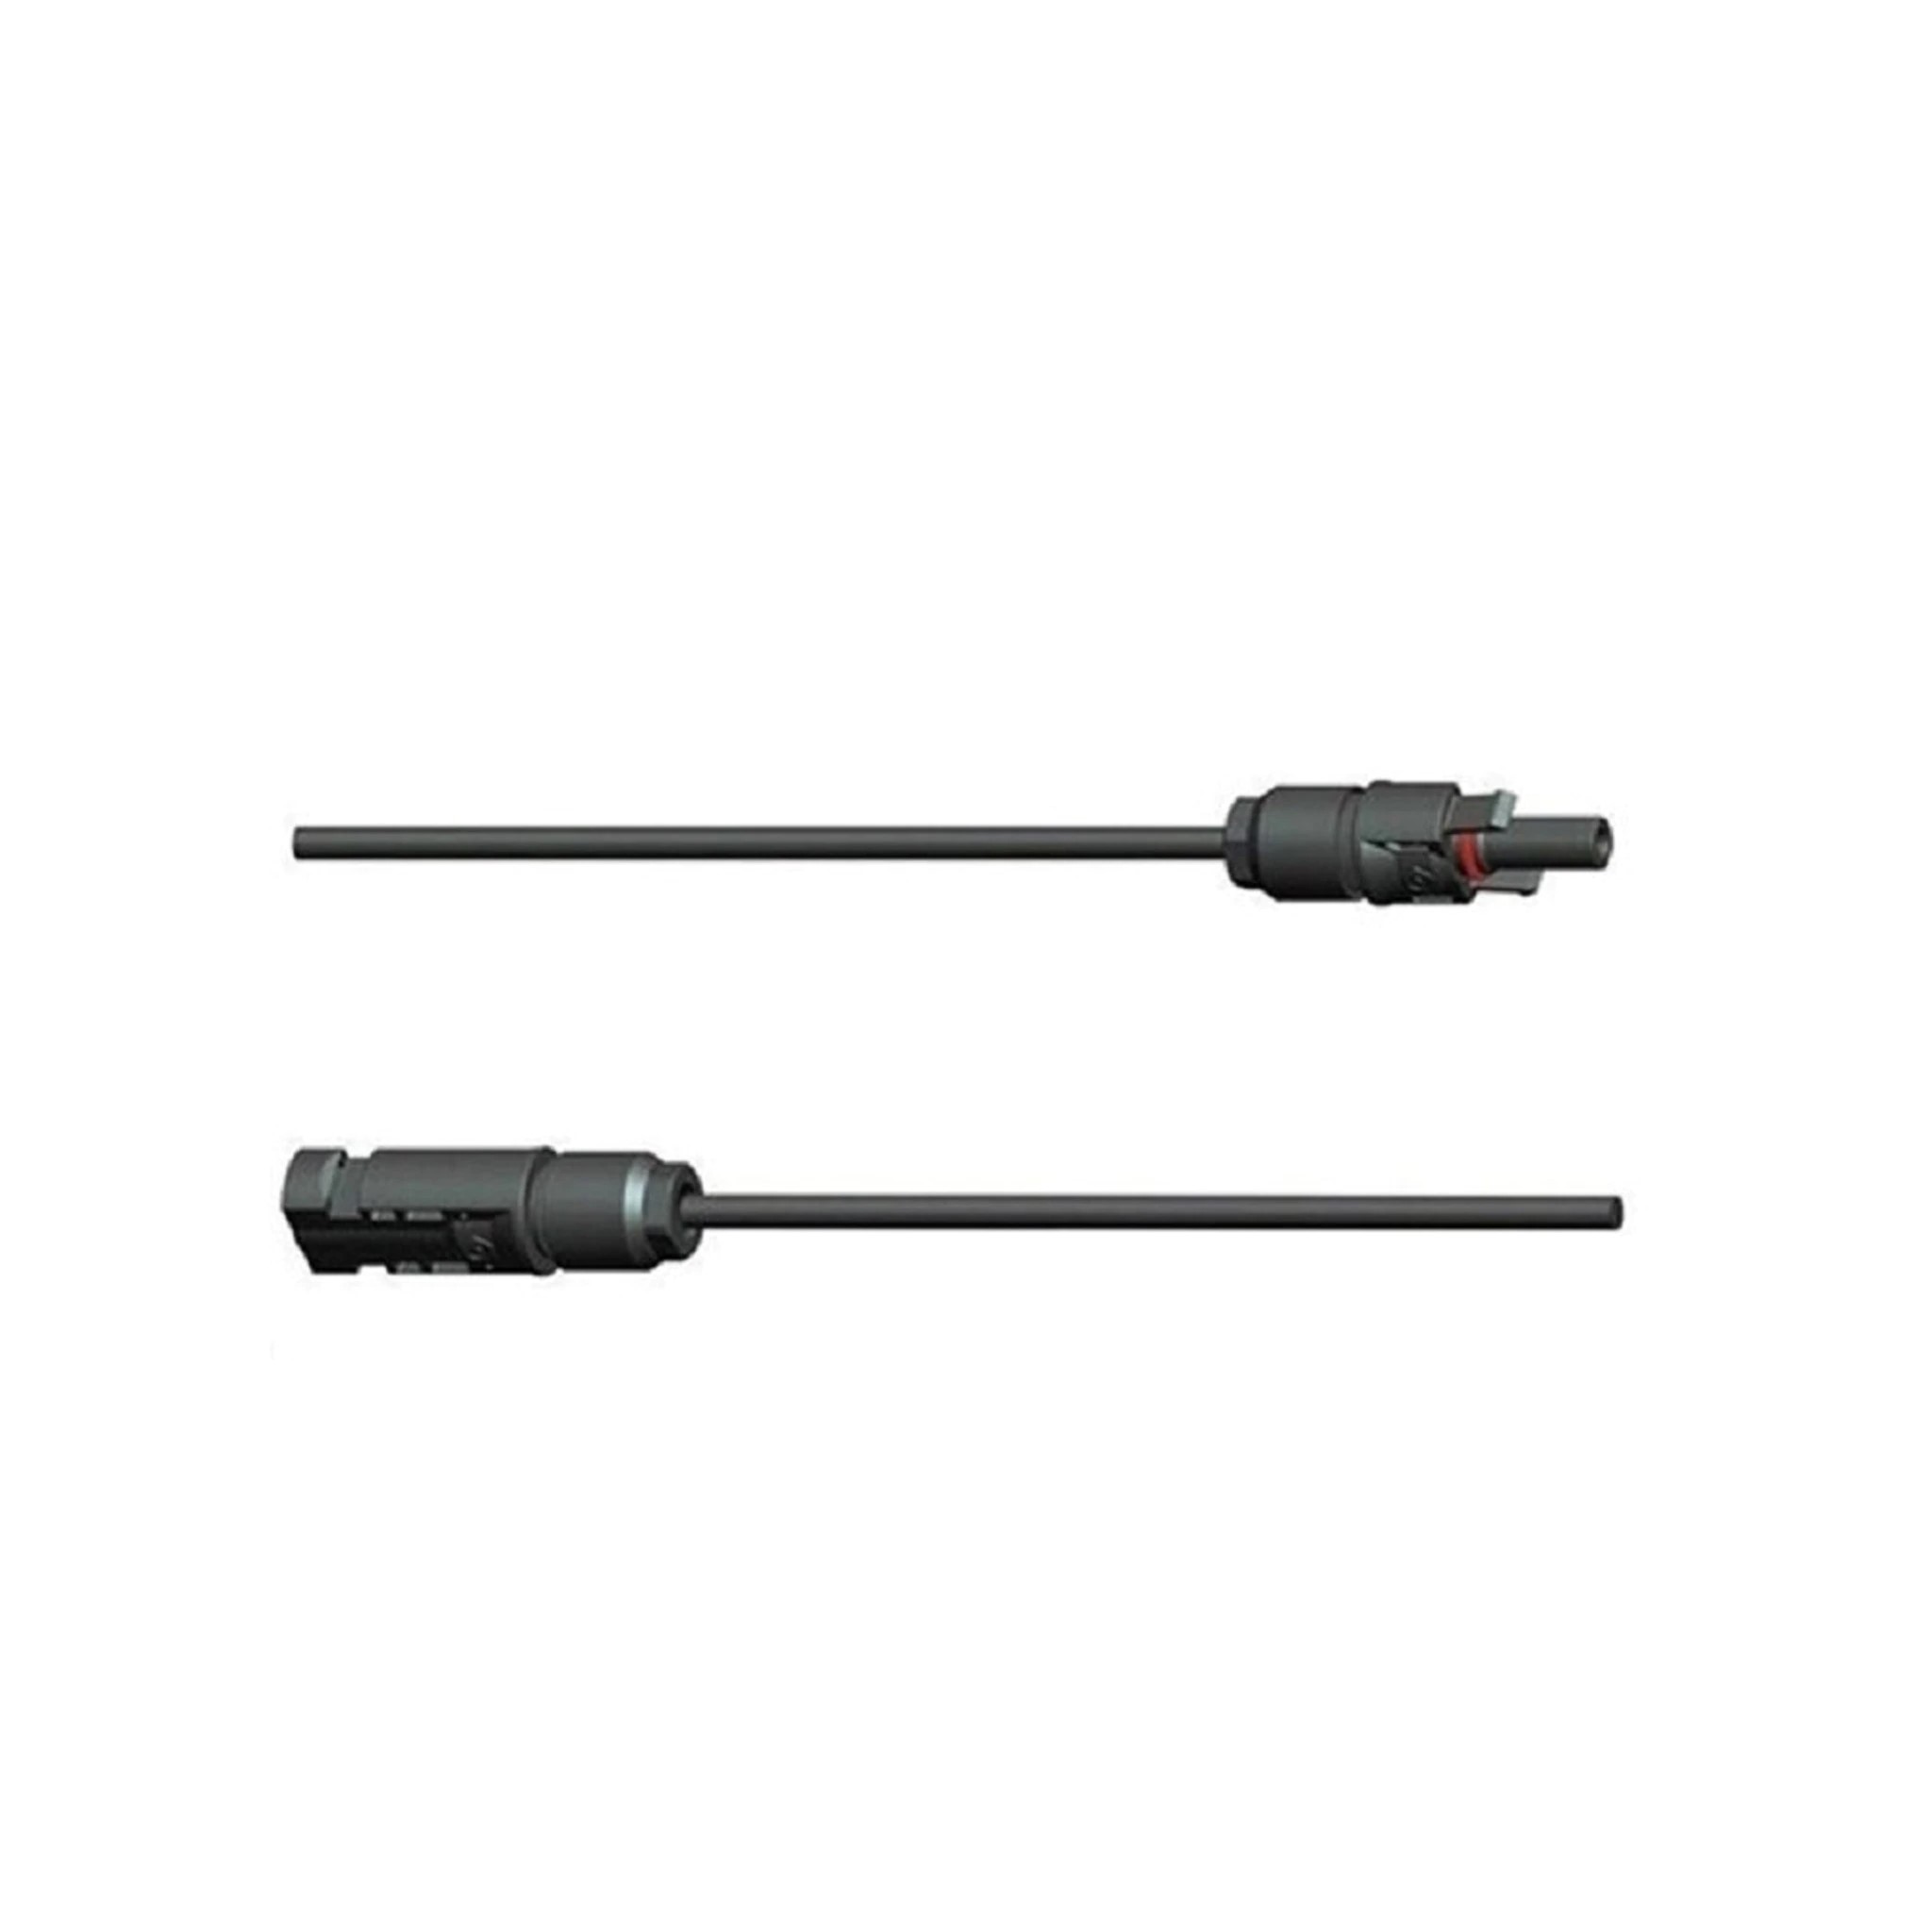
- Mounting Hardware and Wiring
How do you get everything connected? Wiring your system can be one of the most scary components to worry about, but Renogy makes it easy to put your system together.
Renogy has a range of weatherproof wires, adaptor cables, tilt mounts, and other accessories to get your system up and running. Unsure of how to connect your panels to your charge controller? Renogy has an
adaptor kit designed specifically for connecting a Renogy solar panel to a charge controller.
How to install solar panels on van or rv?
Again, refer to Renogy to answer your big questions about installing solar panels on your rv or van. The Renogy
installation manual is a comprehensive guide for answering all your questions about putting your system together. Additionally, the Renogy wiring diagram gives you a good primer for how a system should be connected.

Tips for a Successful Installation
- Test all your components before you mount the components on your van.
- Mark the location of your solar panels and mounting points to avoid having to measure again.
- Measure twice (even three times!), drill once.
- You probably need less power than you think. Don’t forget to use the solar panel calculator for an accurate estimate of your energy needs.
- Remember not to drive your vehicle with your solar panels in a tilted state.
- When flipping the switch, remember that if your solar panels are connected to the charge controller, and the charge controller isn’t connected to the batteries to move the current, you could blow up the charge controller. Make sure everything is connected!
- Ask for help! Having someone to help you when you’re handling large solar panels to the roof of your van makes a huge difference and keeps you from potentially hurting yourself.
- Not ready to take the full solar plunge? Consider trying portable products that don’t require you to mount panels on (and drill holes into) the roof of your van.
Going solar on your van or RV doesn’t have to be scary. By referring to the wealth of educational resources available to you, taking the time to properly size your system and select your components, and asking for help, you’ll be harnessing power from the sun before you know it.


